Server Configuration
EcoFlowJS allows you to configure the server as per your needs.
It provides a simple and flexible way to configure server starting directory to router and cors configuration.
Accessing Server Configuration
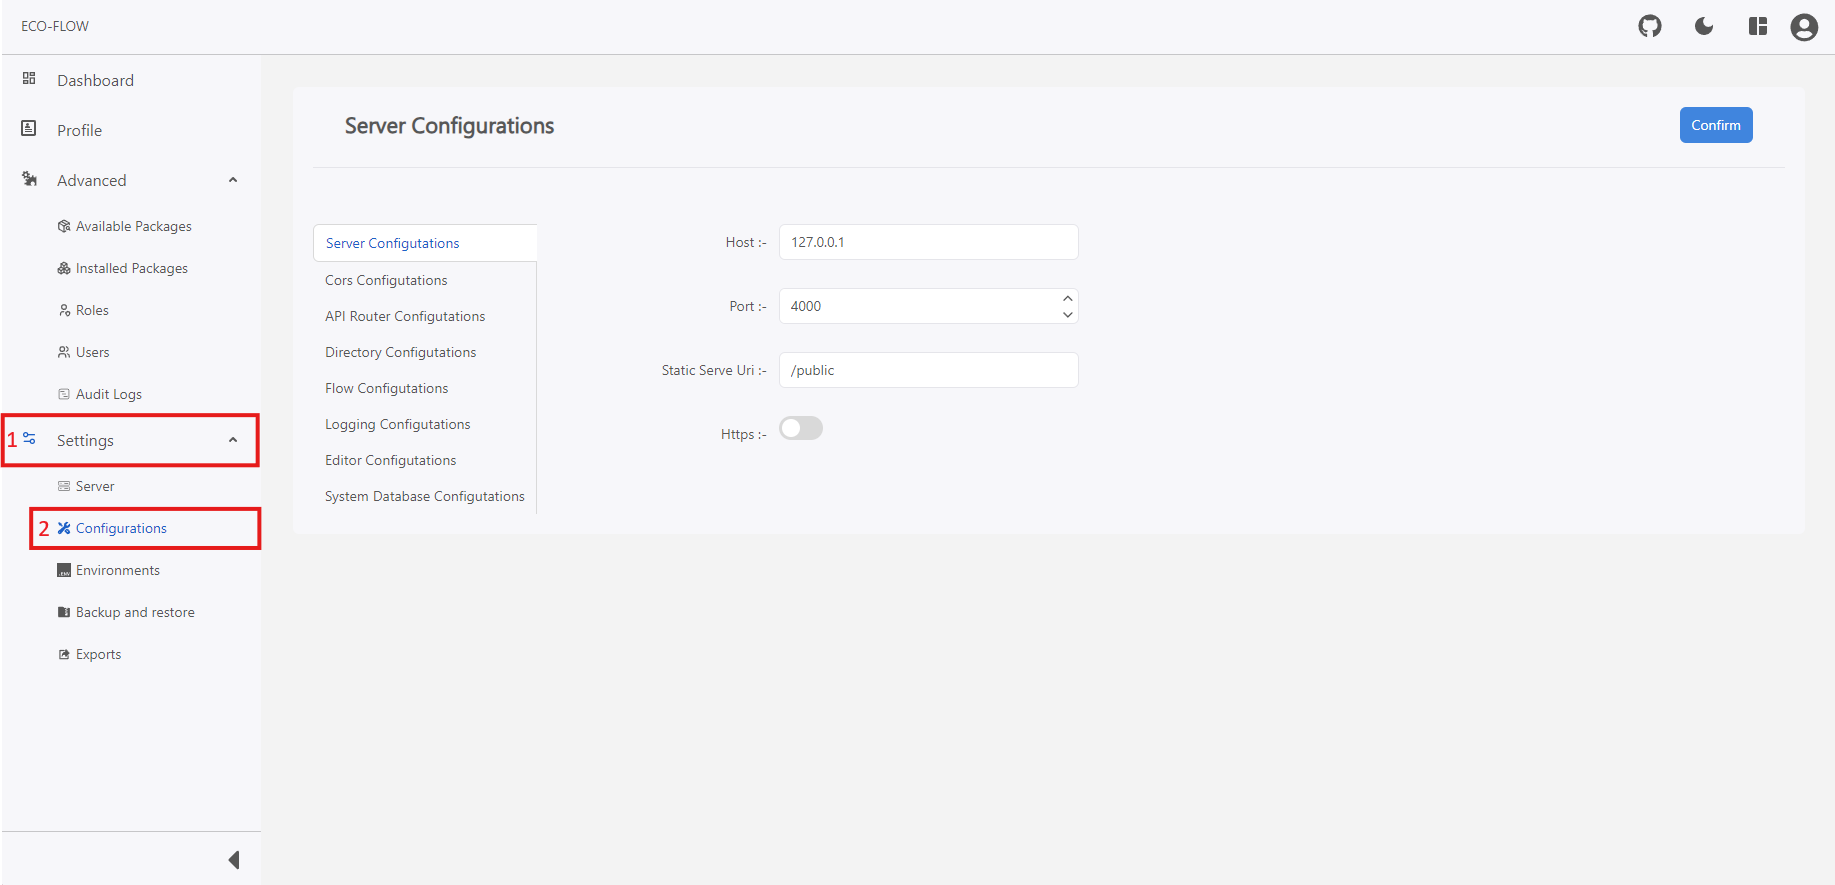
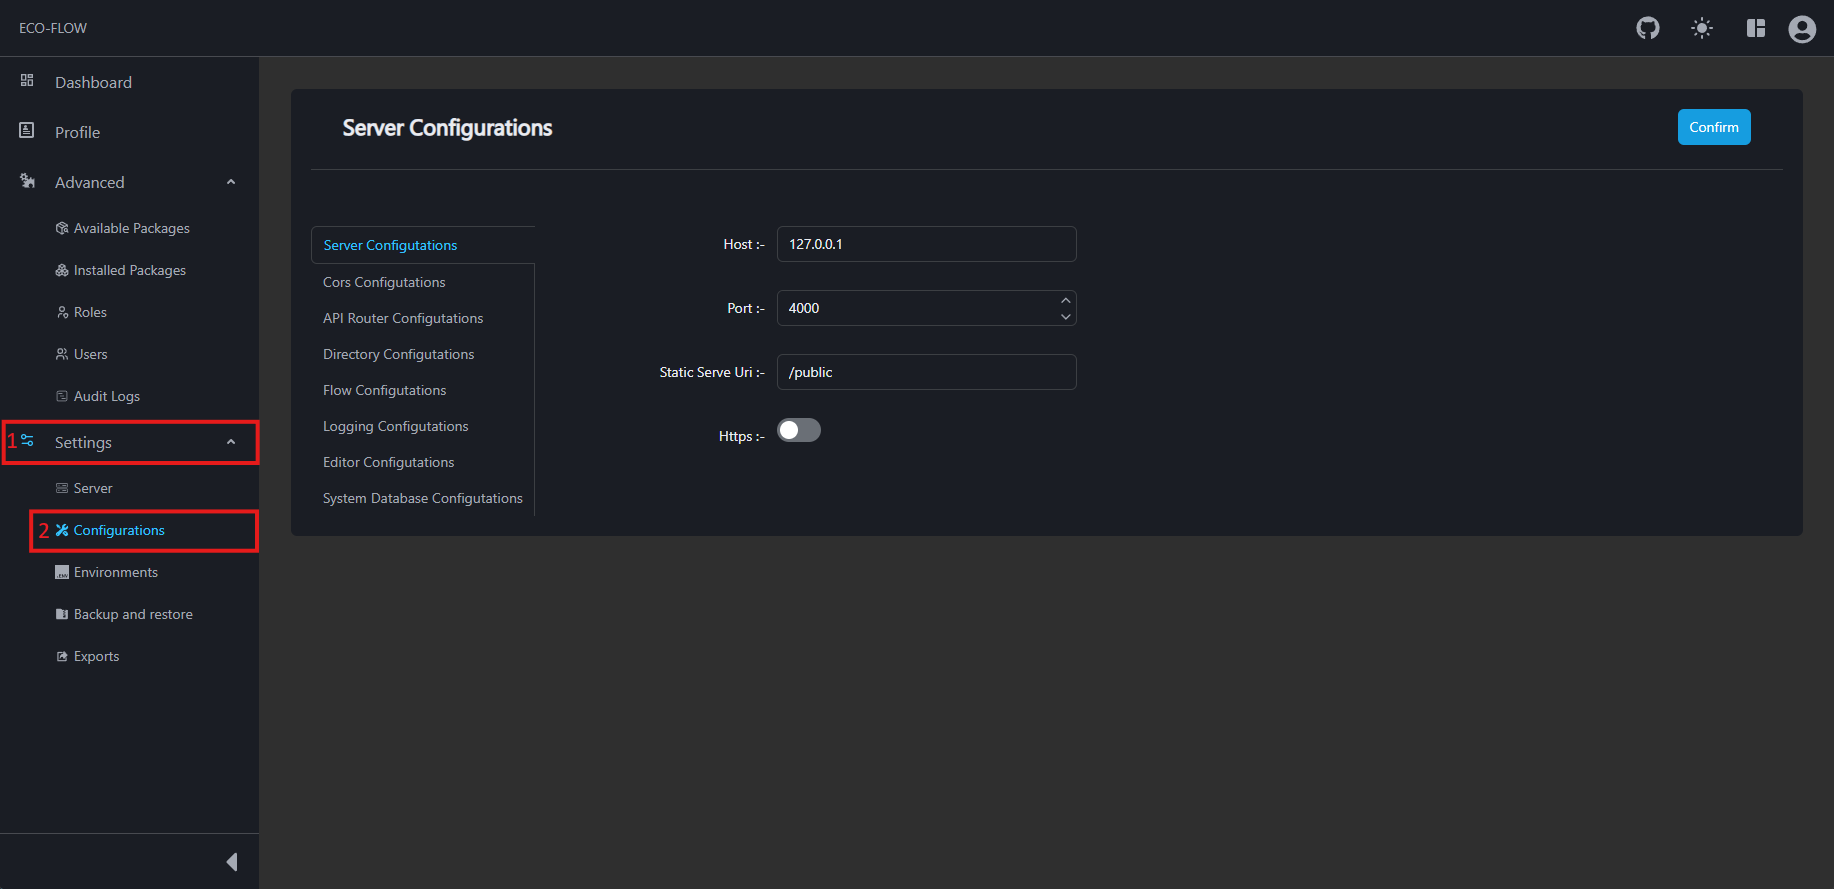
To access the user management screen:
- Click on Settings on the left side panel of the main navigation of your EcoFLowJS application.
- Click on Configurations from the sub section.
HTTP Server Configuration
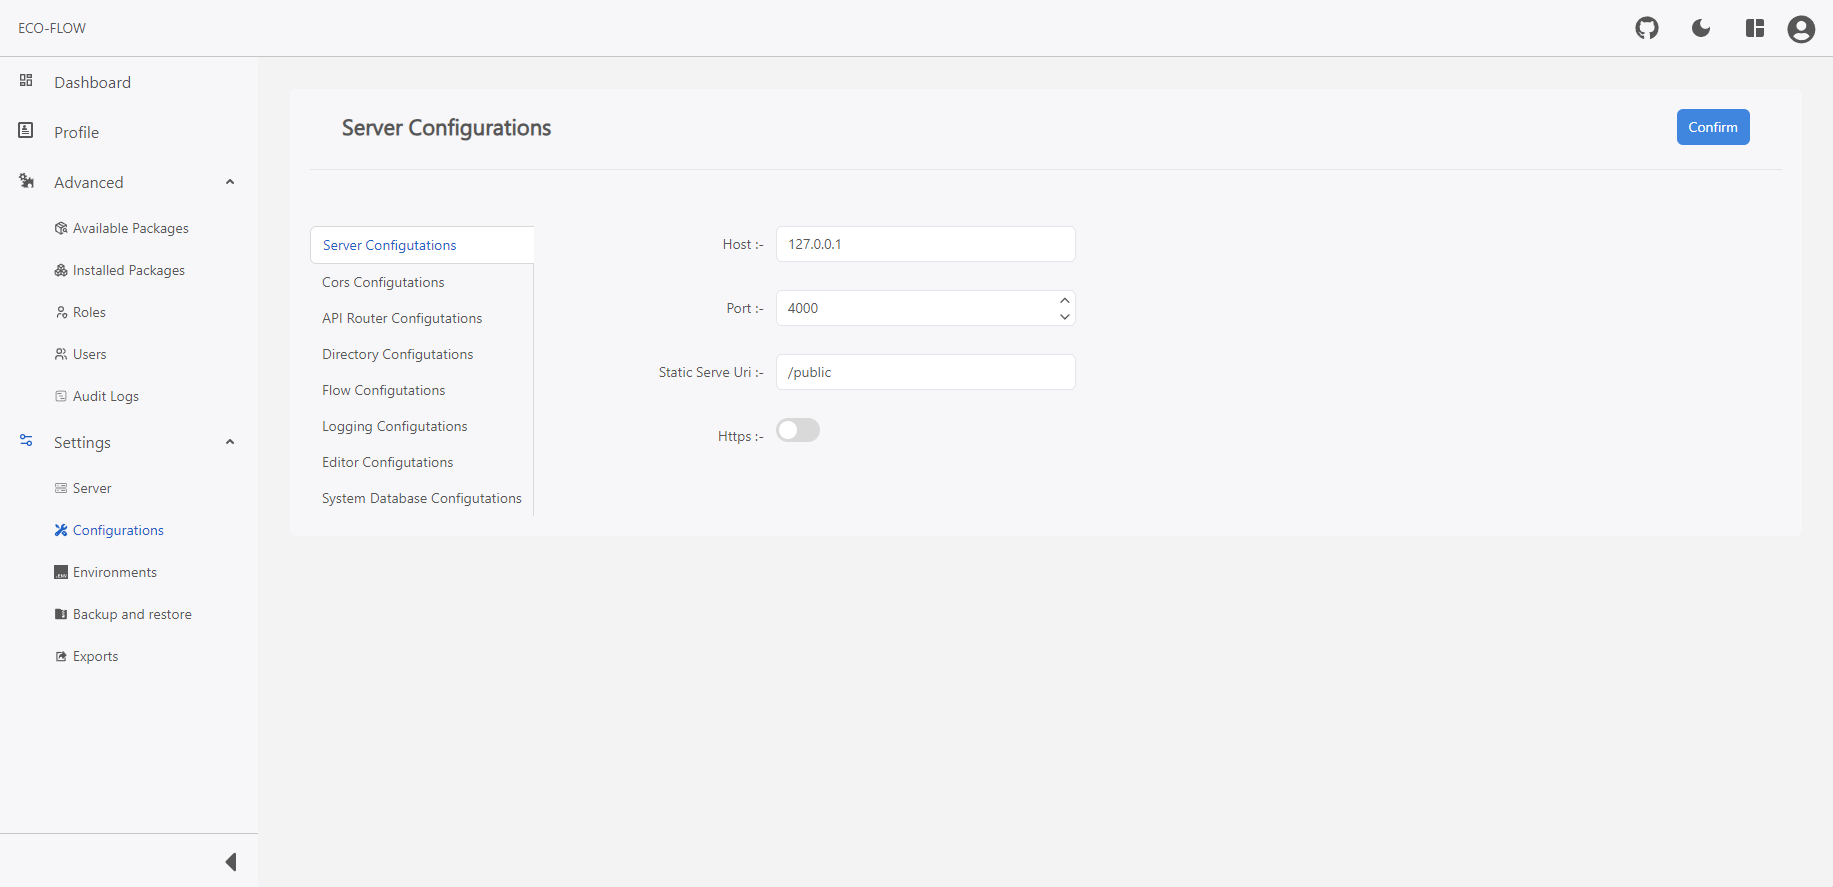
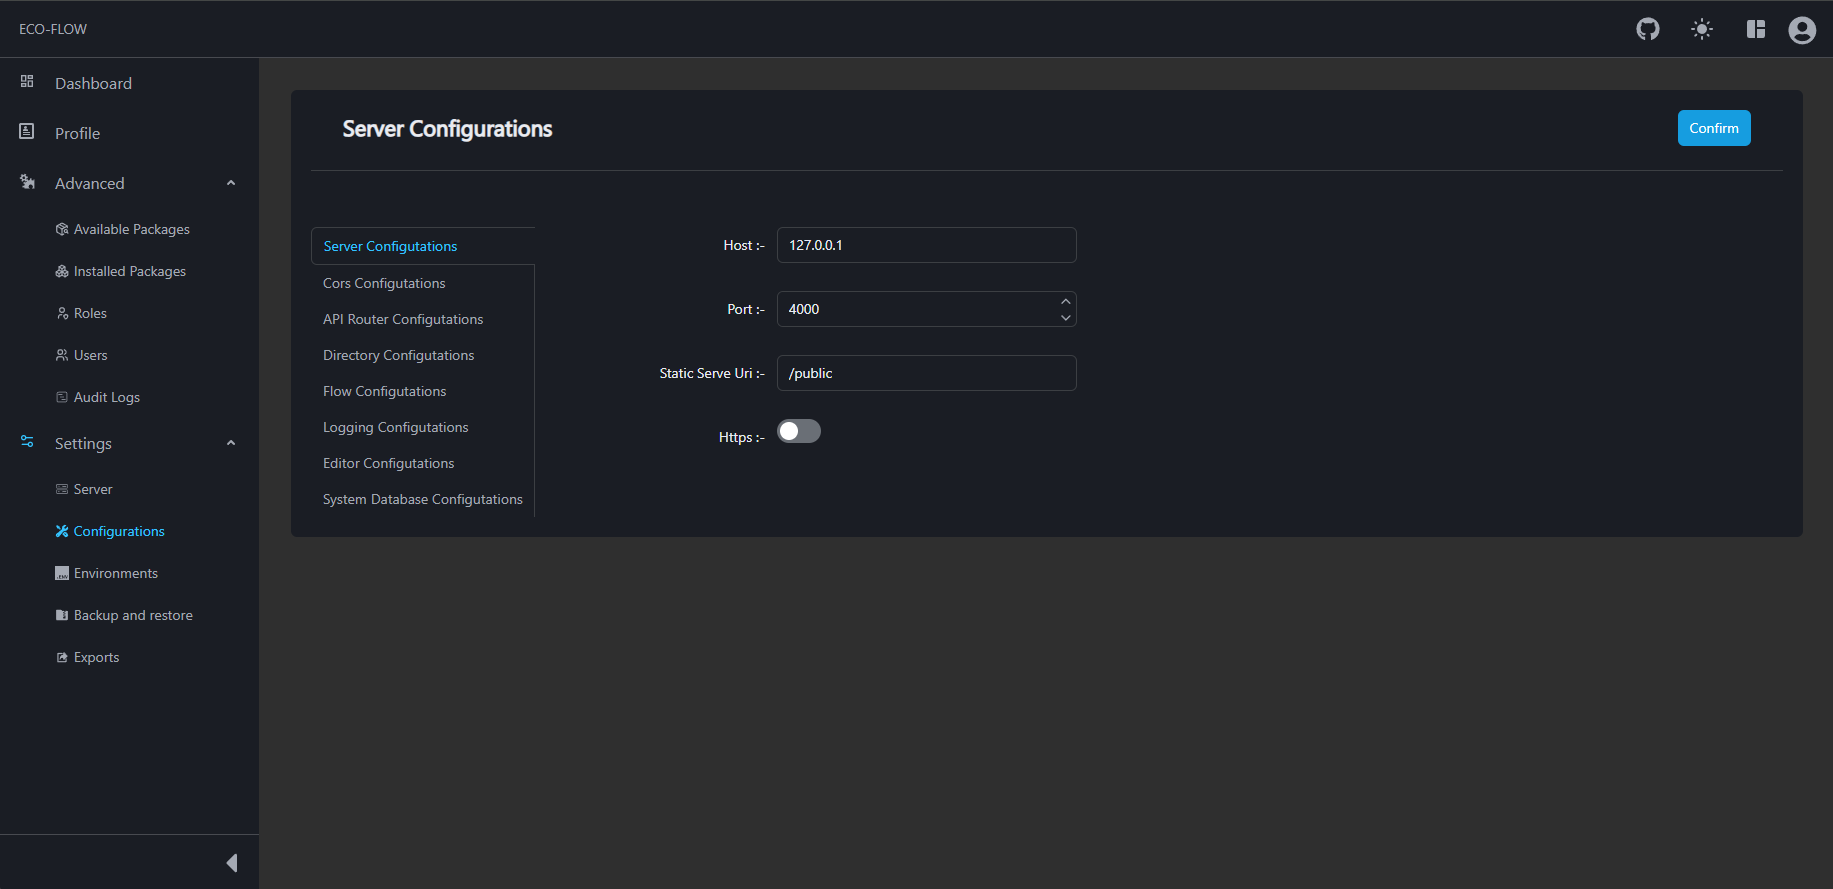
To access the HTTP Server Configurations:
- Access the Server Configuration. For more information about how to access the Server Configuration see here.
- Click on Server Configurations to open the HTTP Server Configurations.
- Fill up the HTTP Server Configurations details:
| Field | Description | Default |
|---|---|---|
| Host | Host for the HTTP server. | 127.0.0.1 |
| Port | Port for the HTTP server. | 4000 |
| Static Serve Uri | URI for serving static files. | /public |
| Https | Enable/Disable HTTPS. | false |
| Https key | Key for HTTPS Server. | |
| Https Certificate | Certificate for HTTPS Server. | false |
- Commit the changes. For more information see here.
CORS Configuration
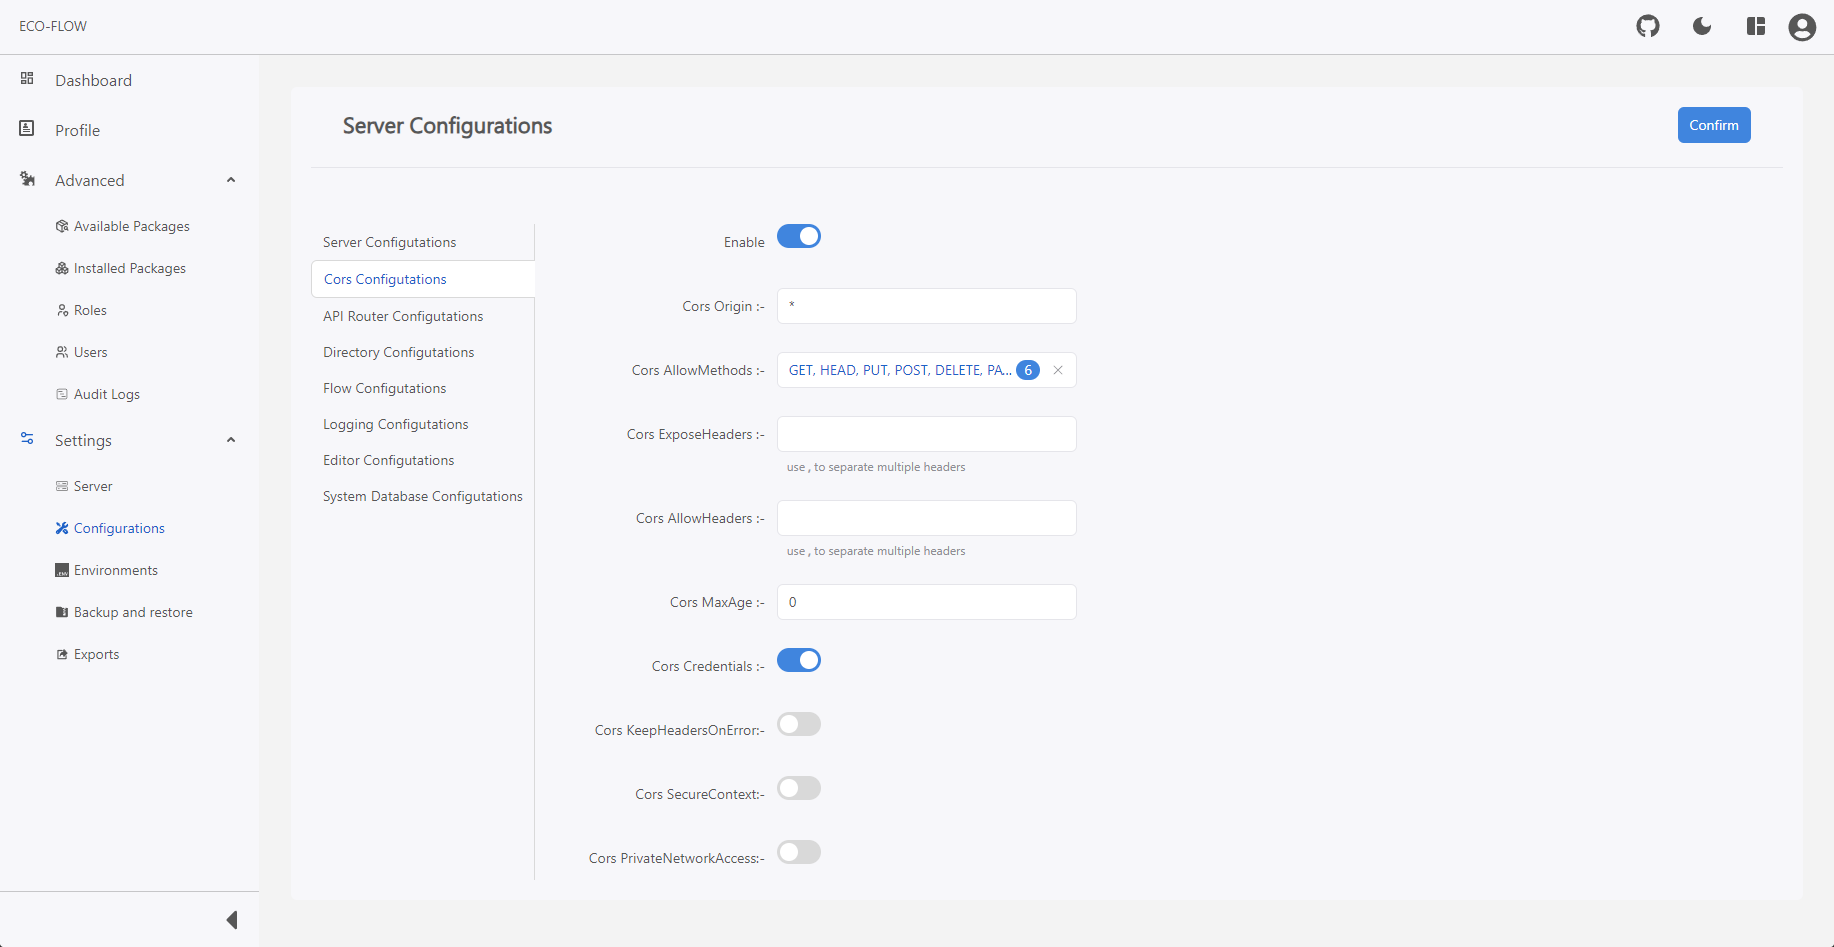
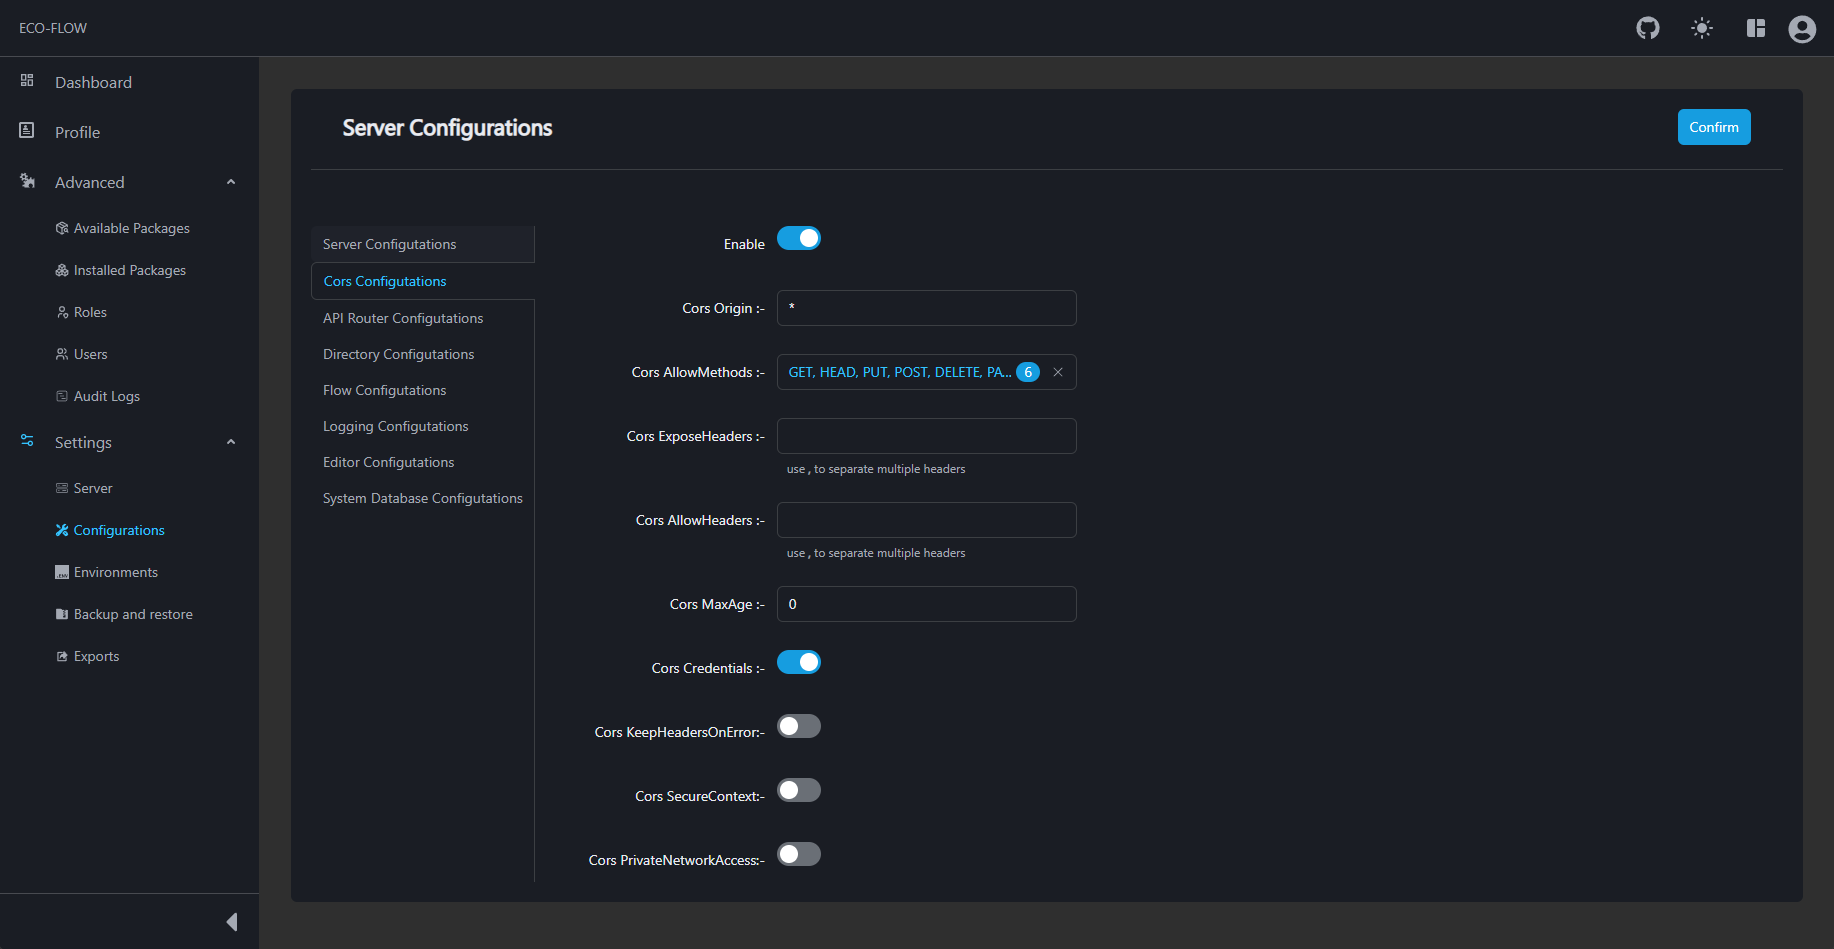
To access the CORS Configurations:
- Access the Server Configuration. For more information about how to access the Server Configuration see here.
- Click on Cors Configurations to open the CORS Configurations.
- Fill up the CORS Configurations details:
| Field | Description | Default |
|---|---|---|
| Enable | Enable/Disable CORS settings. | true |
| Cors Origin | Origin to be parsed to CORS. | * |
| Cors AllowMethods | Methods that are allowed for CORS. | GET, HEAD, PUT, POST, DELETE, PATCH |
| Cors ExposeHeaders | CORS header to expose. | |
| Cors AllowHeaders | Allowed header for CORS. | |
| Cors MaxAge | Max alive time for CORS. | 0 |
| Cors Credentials | Enable/Disable credentials to pass through CORS. | true |
| Cors KeepHeadersOnError | CORS keep header on error. | false |
| Cors SecureContext | Cors secure context. | false |
| Cors PrivateNetworkAccess | Cors private network access. | false |
- Commit the changes. For more information see here.
API Router Configuration
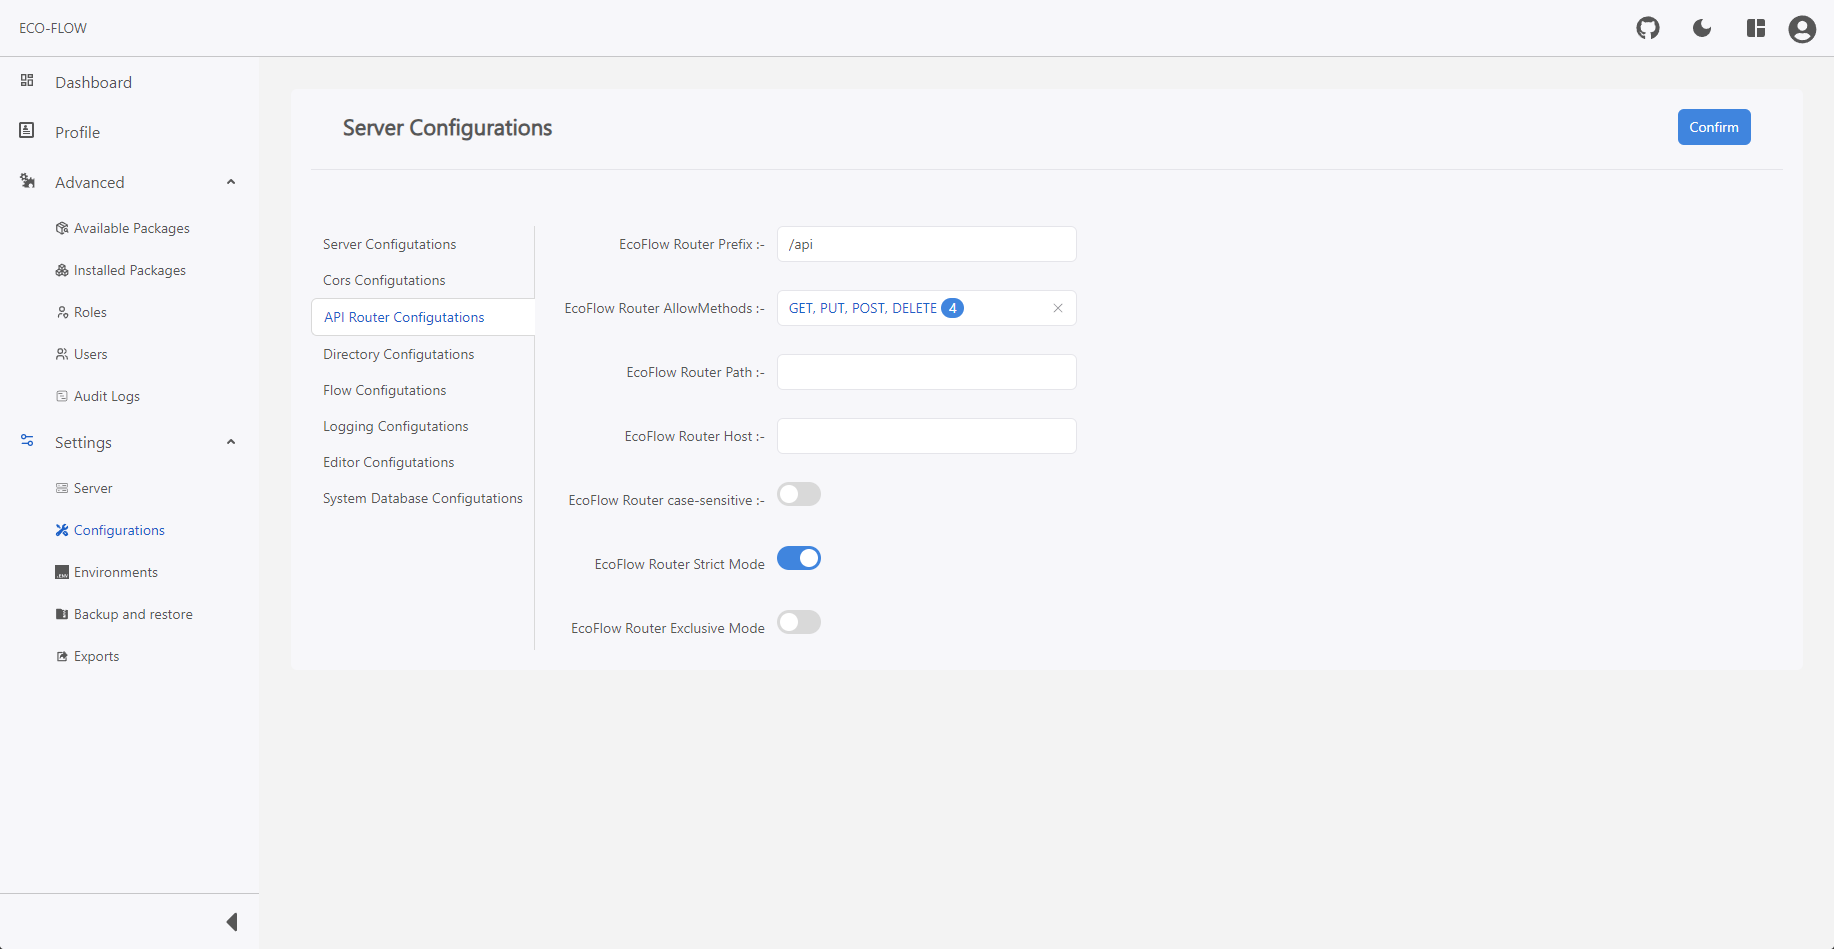
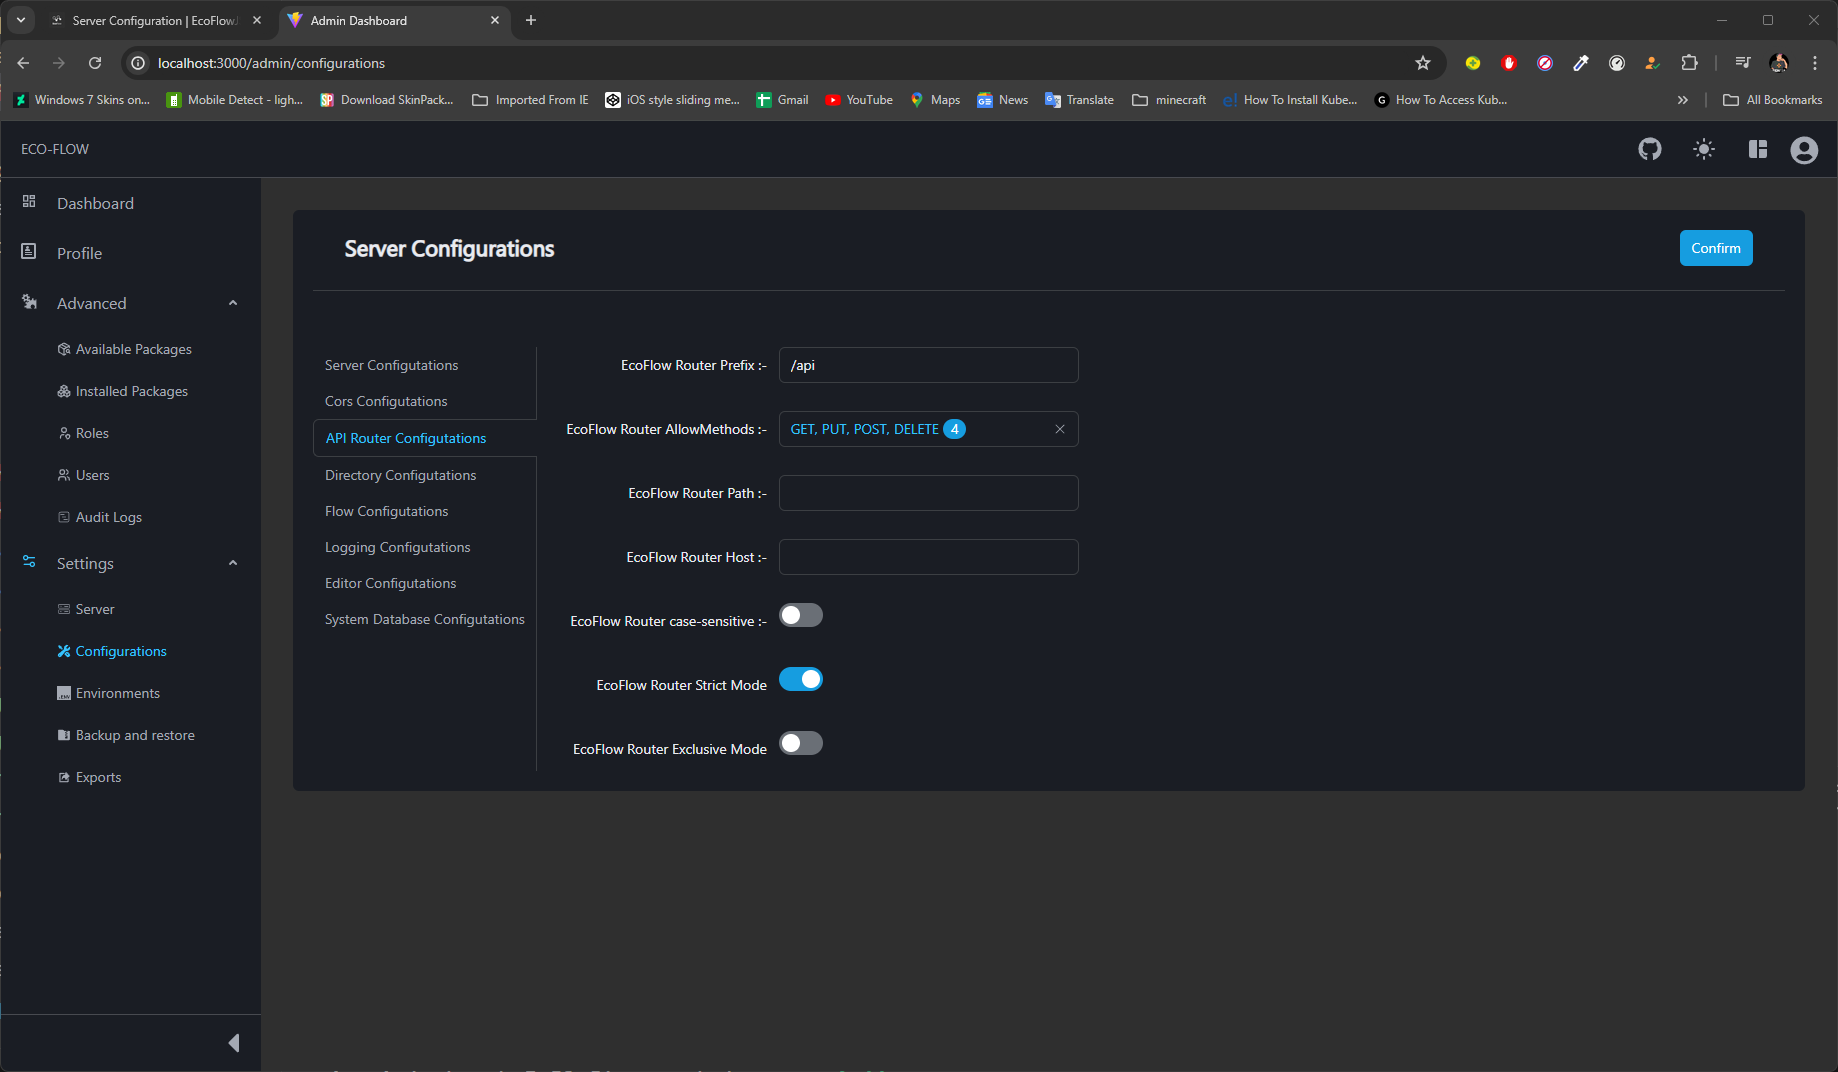
To access the API Router Configuration:
- Access the Server Configuration. For more information about how to access the Server Configuration see here.
- Click on API Router Configuration to open the API Router Configuration.
- Fill up the API Router Configuration details:
| Field | Description | Default |
|---|---|---|
| EcoFlow Router Prefix | Prefix for the api router. | /api |
| EcoFlow Router AllowMethods | Methods that are allowed for the router. | GET, PUT, POST, DELETE |
| EcoFlow Router Path | Path to match for all routes. | |
| EcoFlow Router Host | Hostname to match for all routes. | |
| EcoFlow Router case-sensitive | Enable/Disable routes case sensitive. | false |
| EcoFlow Router Strict Mode | Enable/Disable router strict mode. | true |
| EcoFlow Router Exclusive Mode | Only run last matched route's controller when there are multiple matches. | false |
- Commit the changes. For more information see here.
Directory Configuration
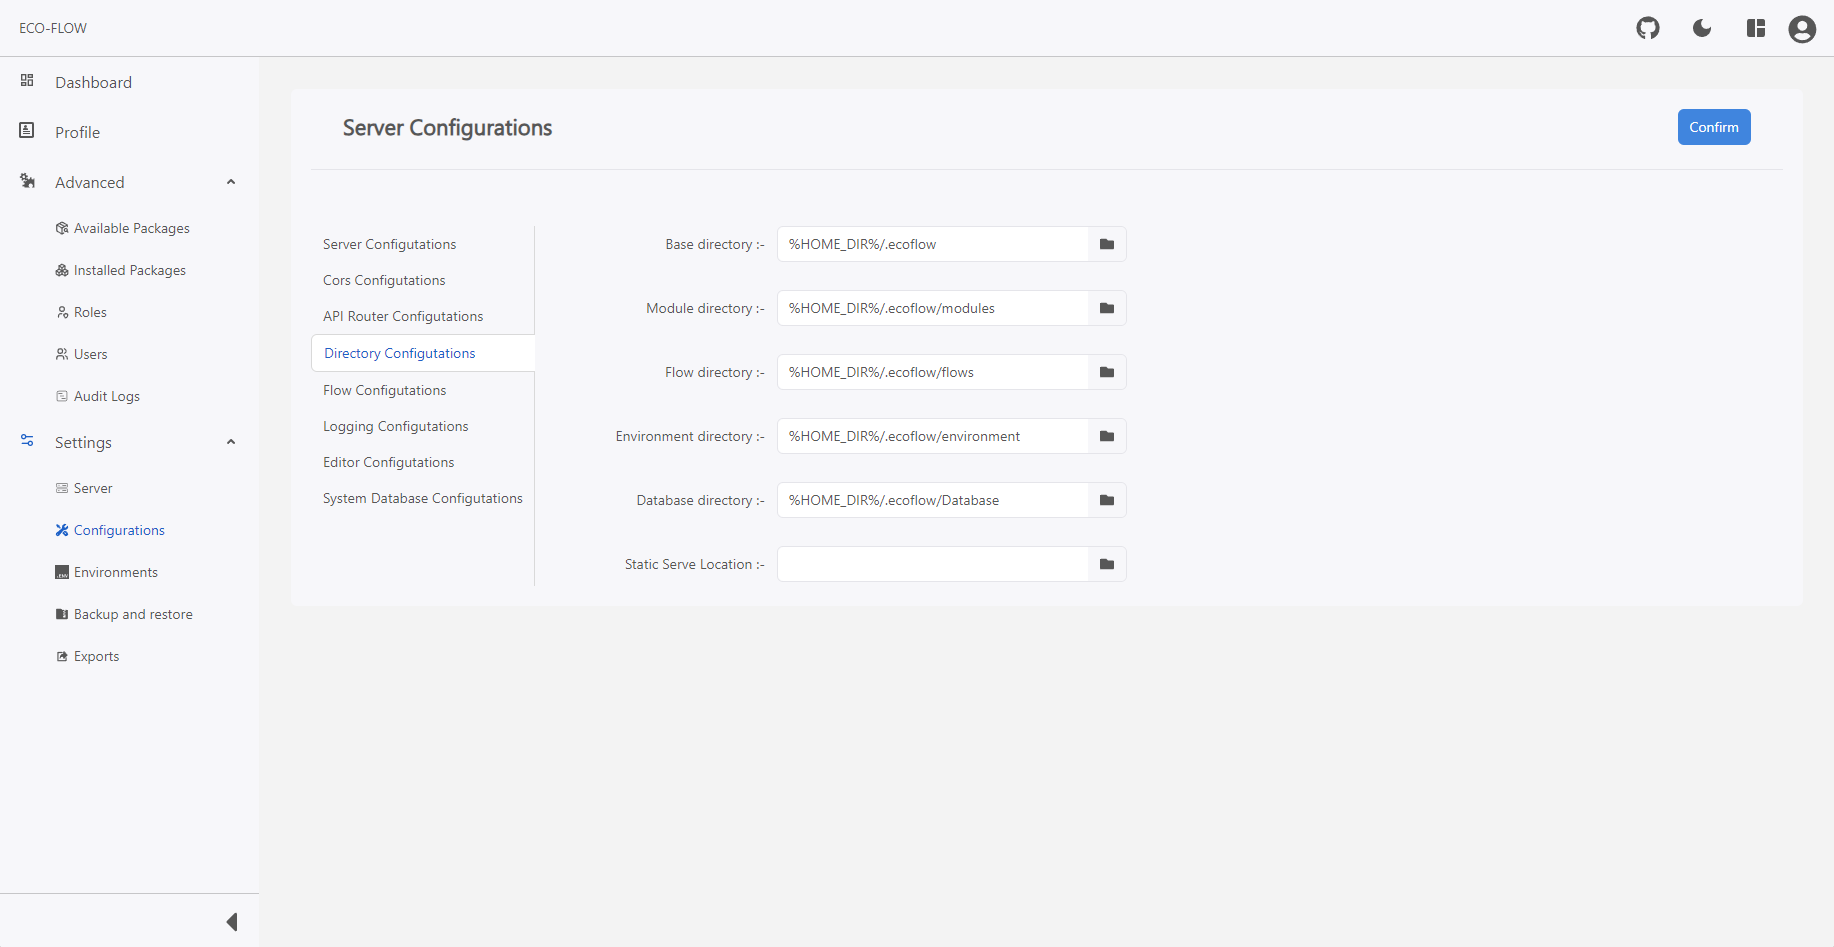
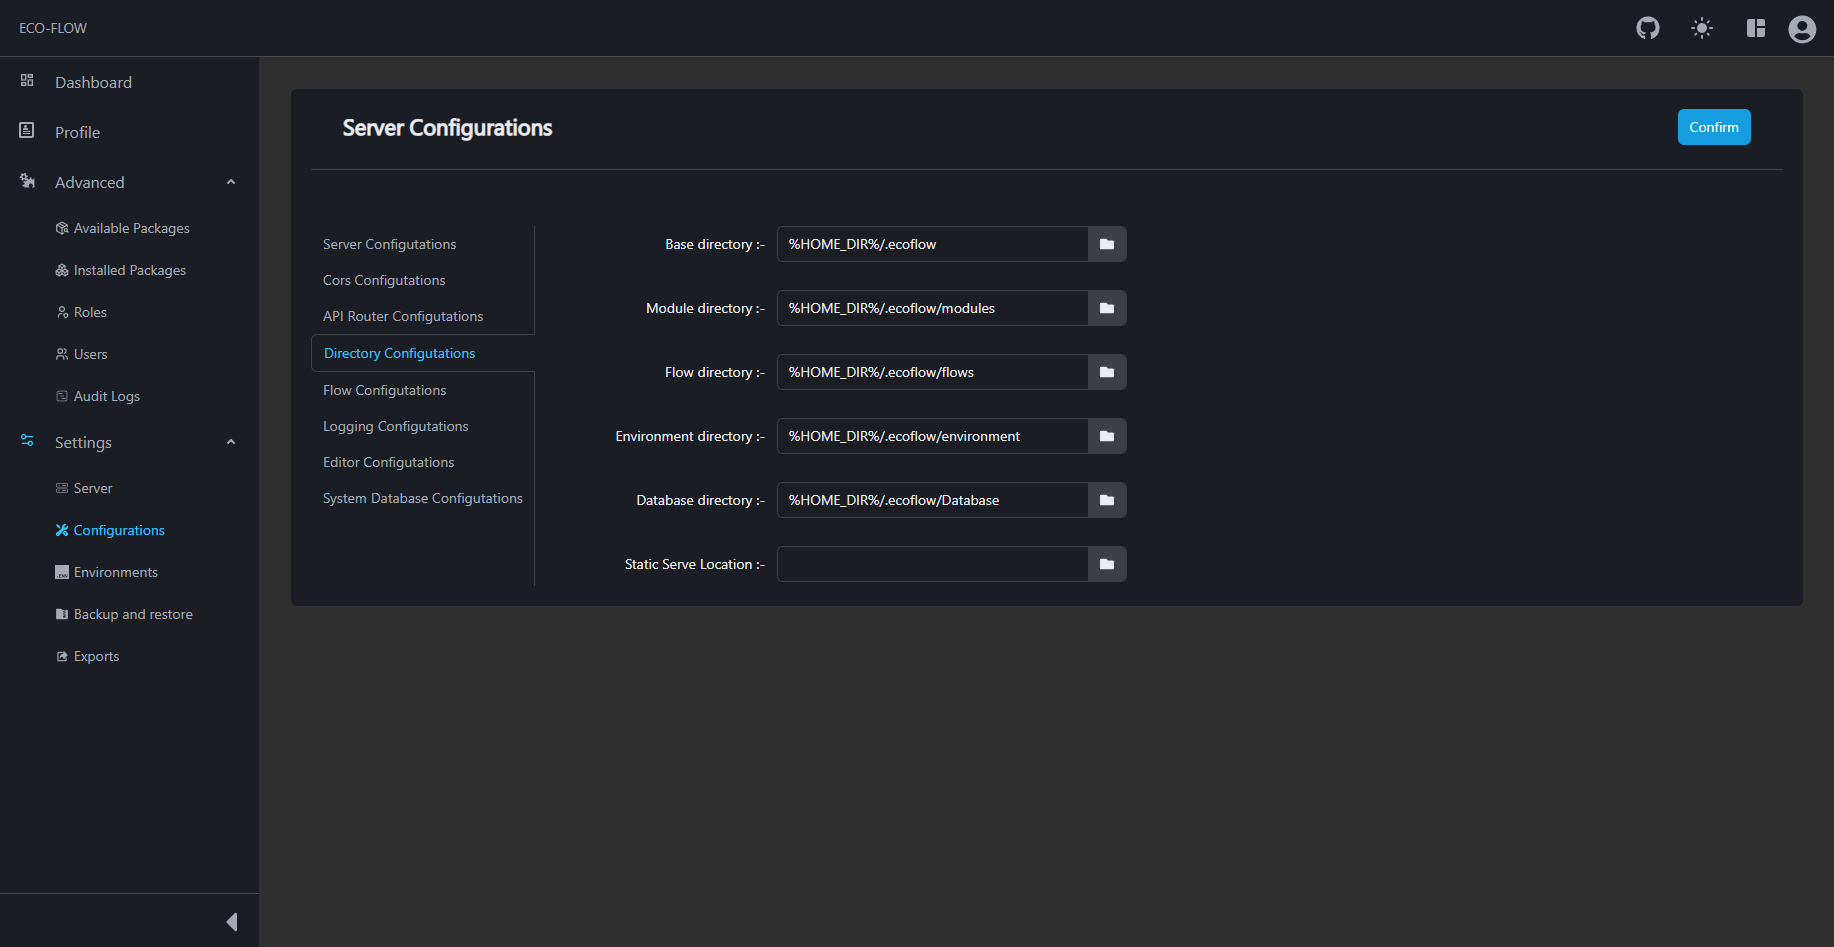
To access the Directory Configuration:
- Access the Server Configuration. For more information about how to access the Server Configuration see here.
- Click on Directory Configuration to open the Directory Configuration.
- Fill up the Directory Configuration details:
| Field | Description | Default |
|---|---|---|
| Base directory | Root directory for EcoFlowJS to store all information. | %HOME DIR%/.ecoflow |
| Module directory | Directory where modules are stored. | %HOME DIR%/.ecoflow/modules |
| Flow directory | Directory where the API Flow Editor flow is stored. | %HOME_DIR%/.ecoflow/flows |
| Environment directory | Directory where Environment Variables are stored. | %HOME_DIR%/.ecoflow/environment |
| Database directory | Directory where all database related configs are stored. | %HOME DIR%/.ecoflow/Database |
| Static Serve Location | Directory for static files. |
Defaults path for static files are %HOME_DIR%/.ecoflow/public.
- Commit the changes. For more information see here.
Flow Configuration
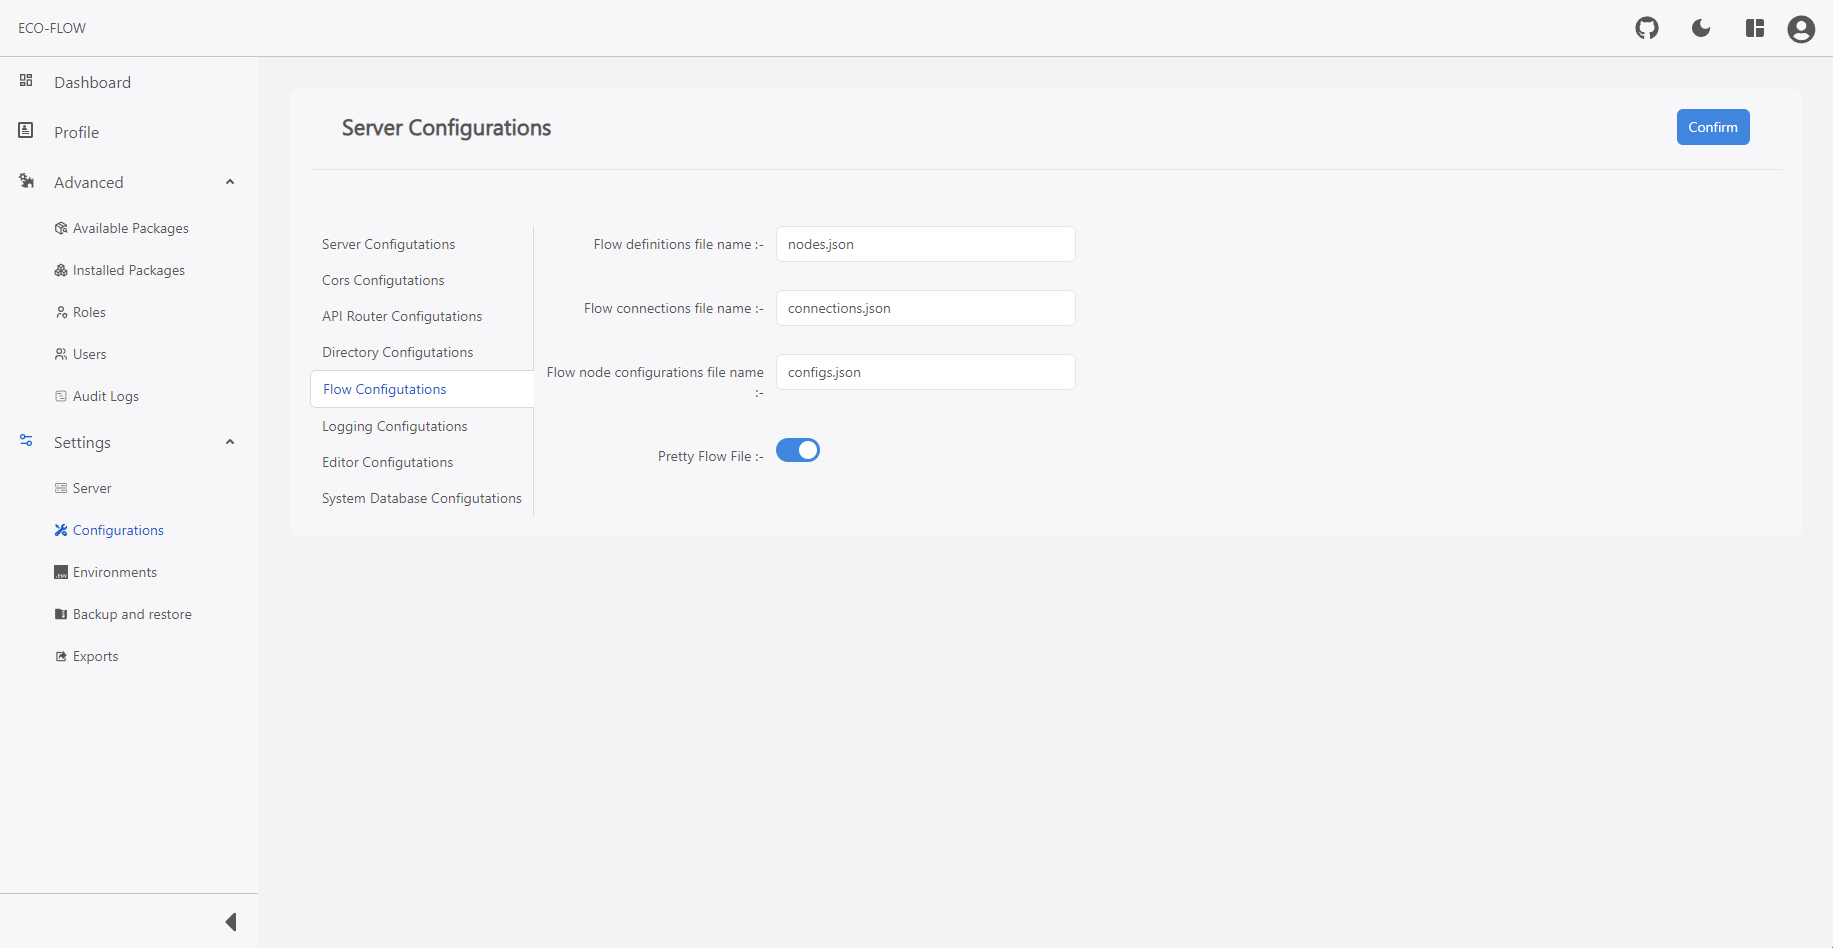
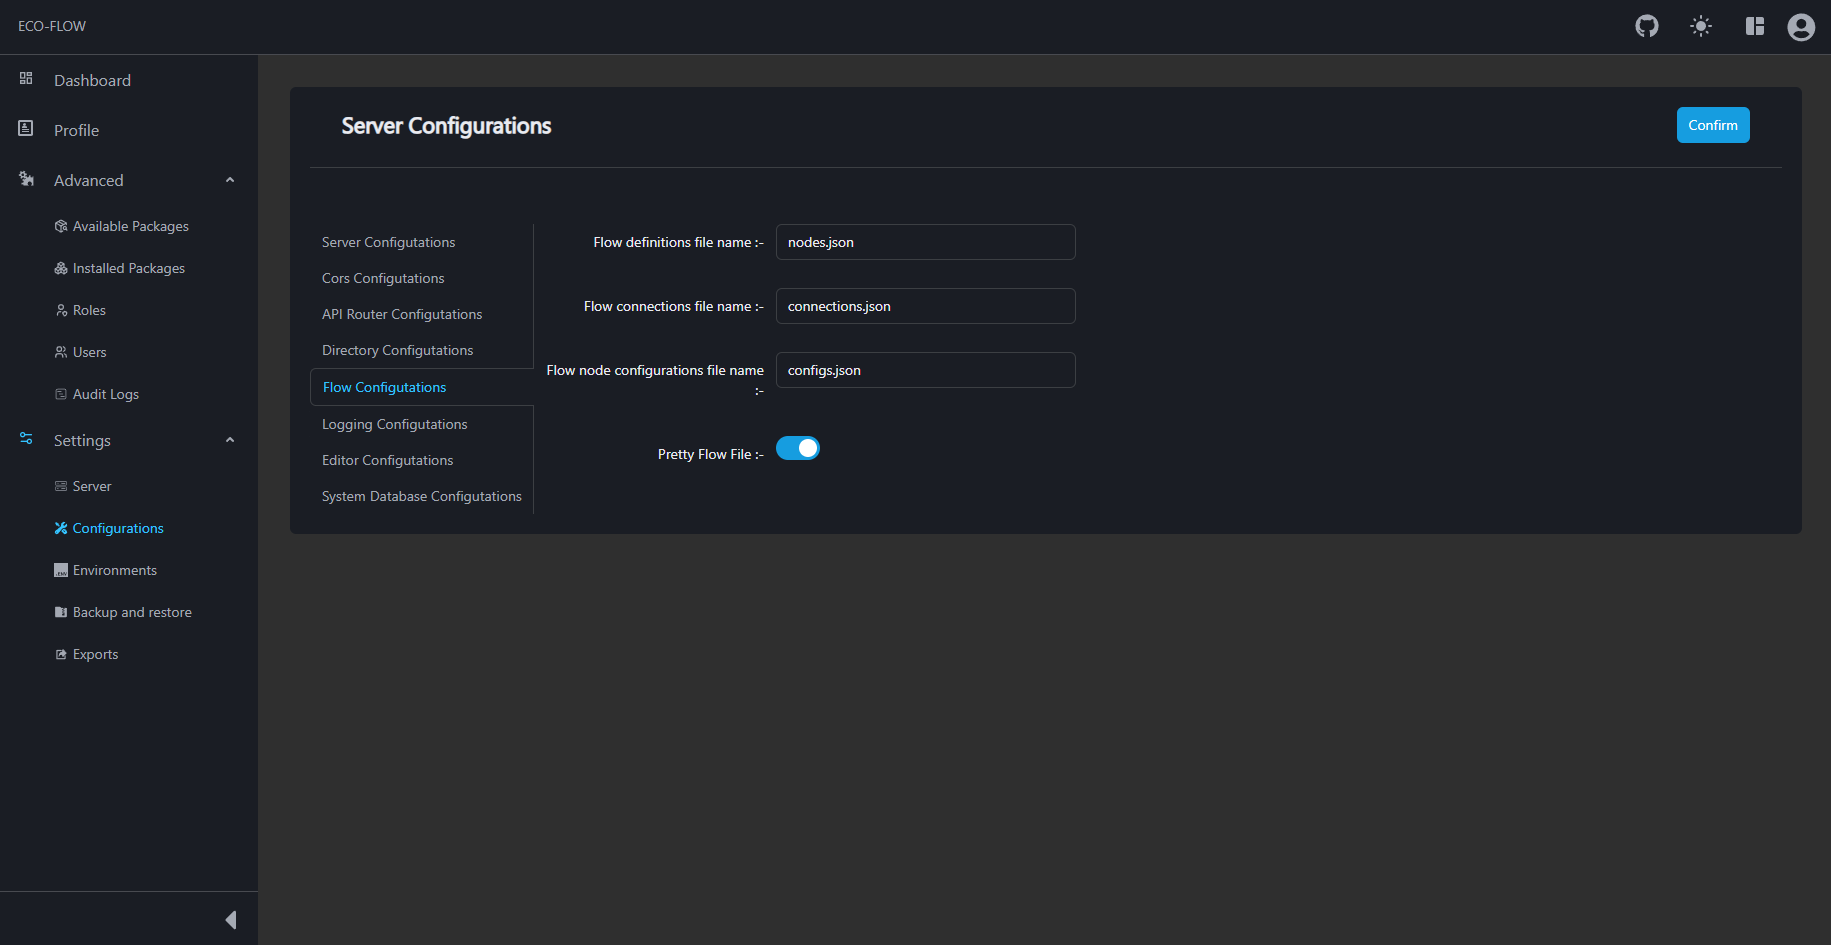
To access the Flow Configuration:
- Access the Server Configuration. For more information about how to access the Server Configuration see here.
- Click on Flow Configuration to open the Flow Configuration.
- Fill up the Flow Configuration details:
| Field | Description | Default |
|---|---|---|
| Flow definitions file name | Name for the flow definition file. | nodes.json |
| Flow connections file name | Name for the flow connections file. | connections.json |
| Flow node configurations file name | Name for the flow node configurations file. | configs.json |
| Pretty Flow File | Enable/Disable prettify of the flow files. | true |
- Commit the changes. For more information see here.
Logger Configuration
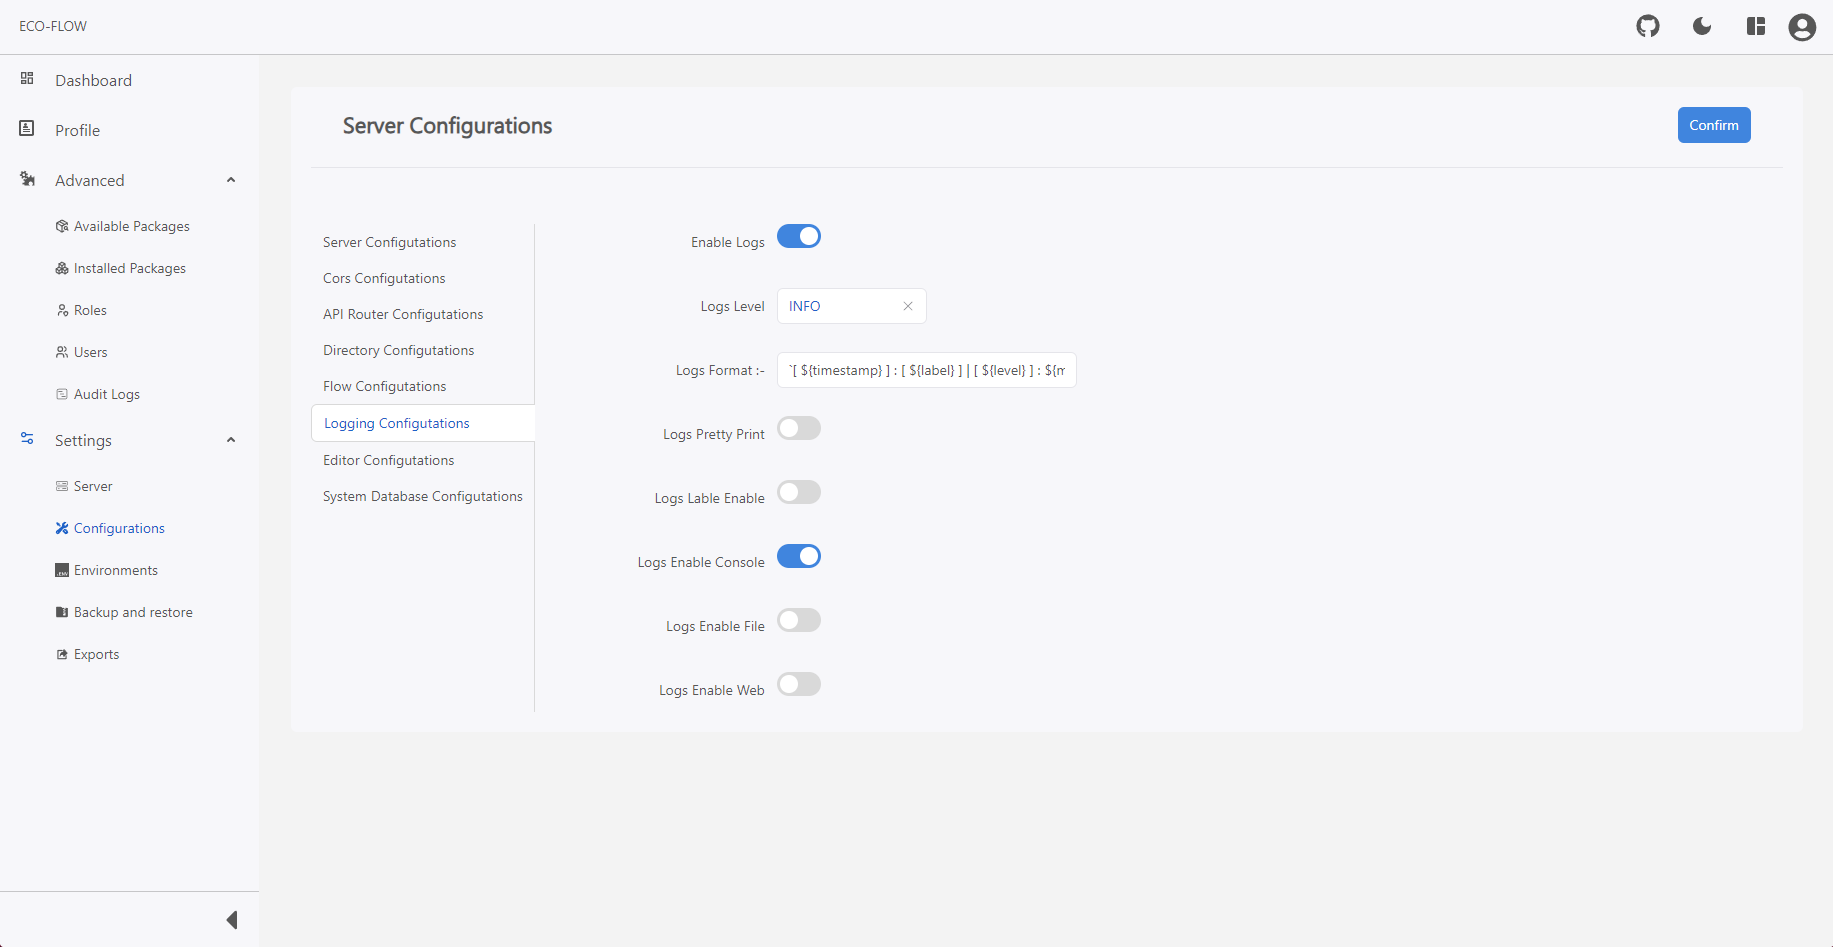
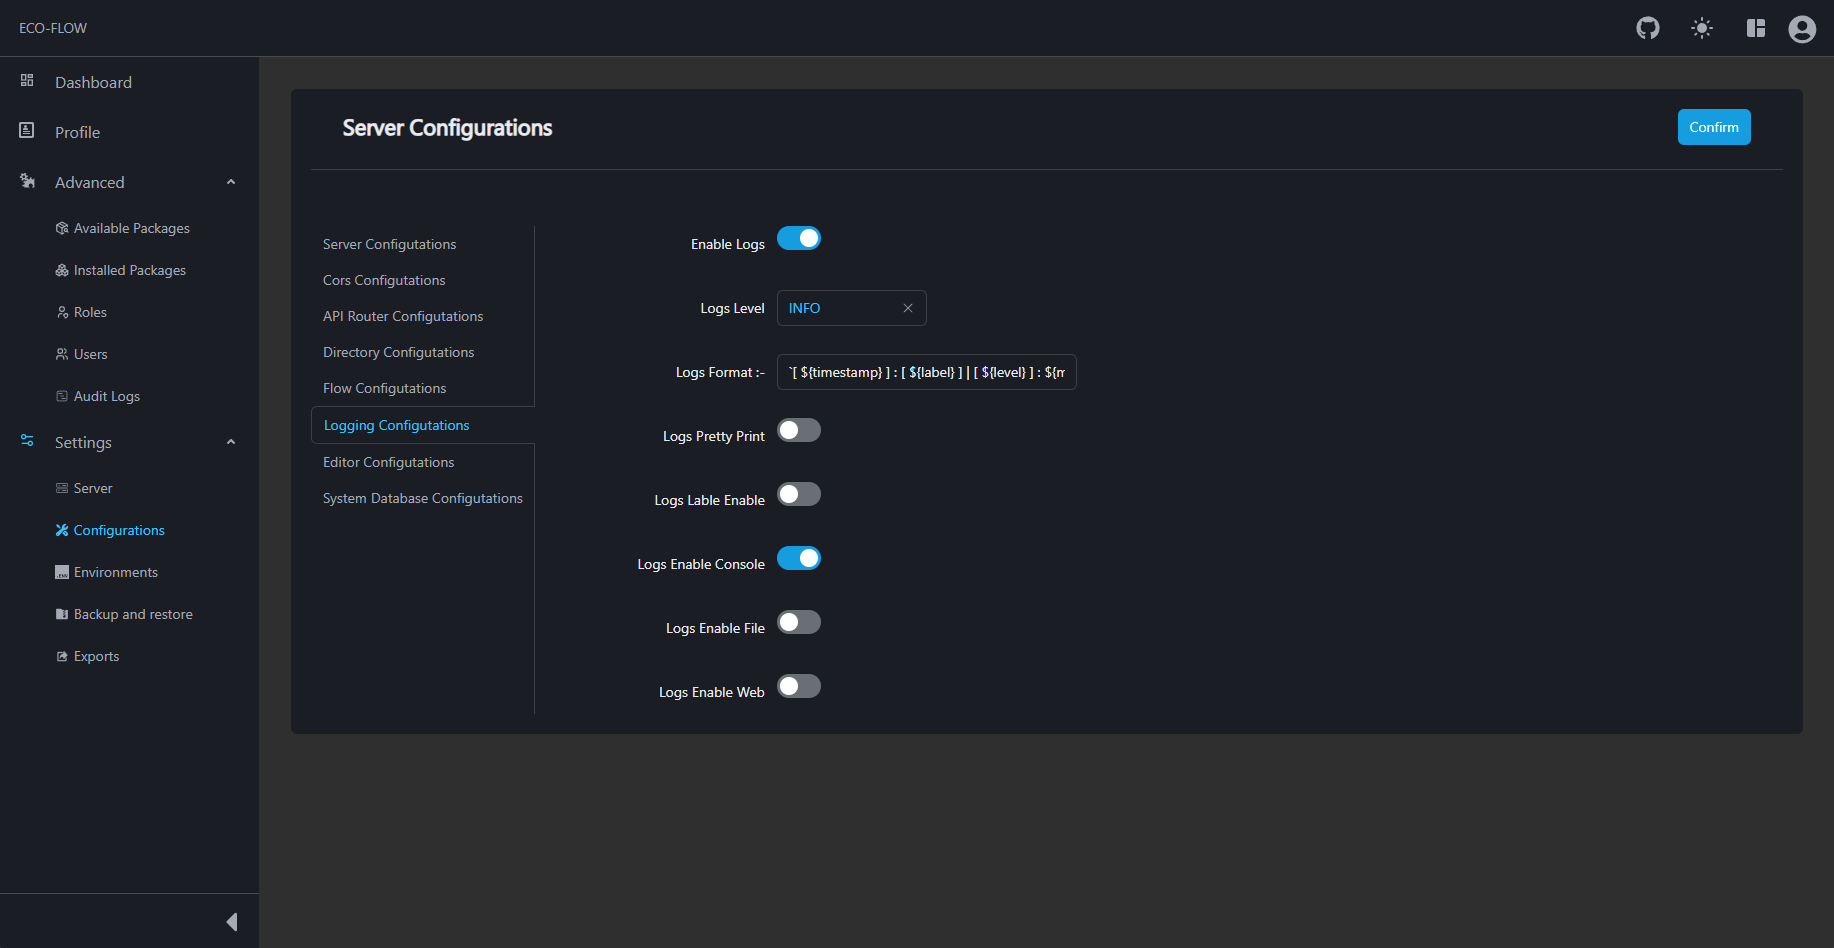
To access the Logger Configuration:
- Access the Server Configuration. For more information about how to access the Server Configuration see here.
- Click on Logging Configuration to open the Logger Configuration.
- Fill up the Logger Configuration details:
| Field | Description | Default |
|---|---|---|
| Enable Logs | Enable/Disable Logger for the application. | true |
| Logs Level | Set logger level. | INFO |
| Logs Format | Logger output format. | [ ${timestamp} ] : [ ${label} ] | [ ${level} ] : ${message} |
| Logs Pretty Print | Enable/Disable prettify of the logger. | false |
| Logs Label Enable | Enable/Disable custom label for logger. | false |
| Logs Label | Label to print in logger. | |
| Logs Enable Console | Enable/Disable logger for console. | true |
| Logs Enable File | Enable/Disable logger for file save. | false |
| Logs File Location | Directory for the logger file to store. | |
| Logs Filename | File name for the logger log file. | |
| Logs Enable Web | Enable/Disable logger for web. | false |
Logger web logs is still under development and it can either be implement or be removed depending on needs.
- Commit the changes. For more information see here.
Editor Configuration
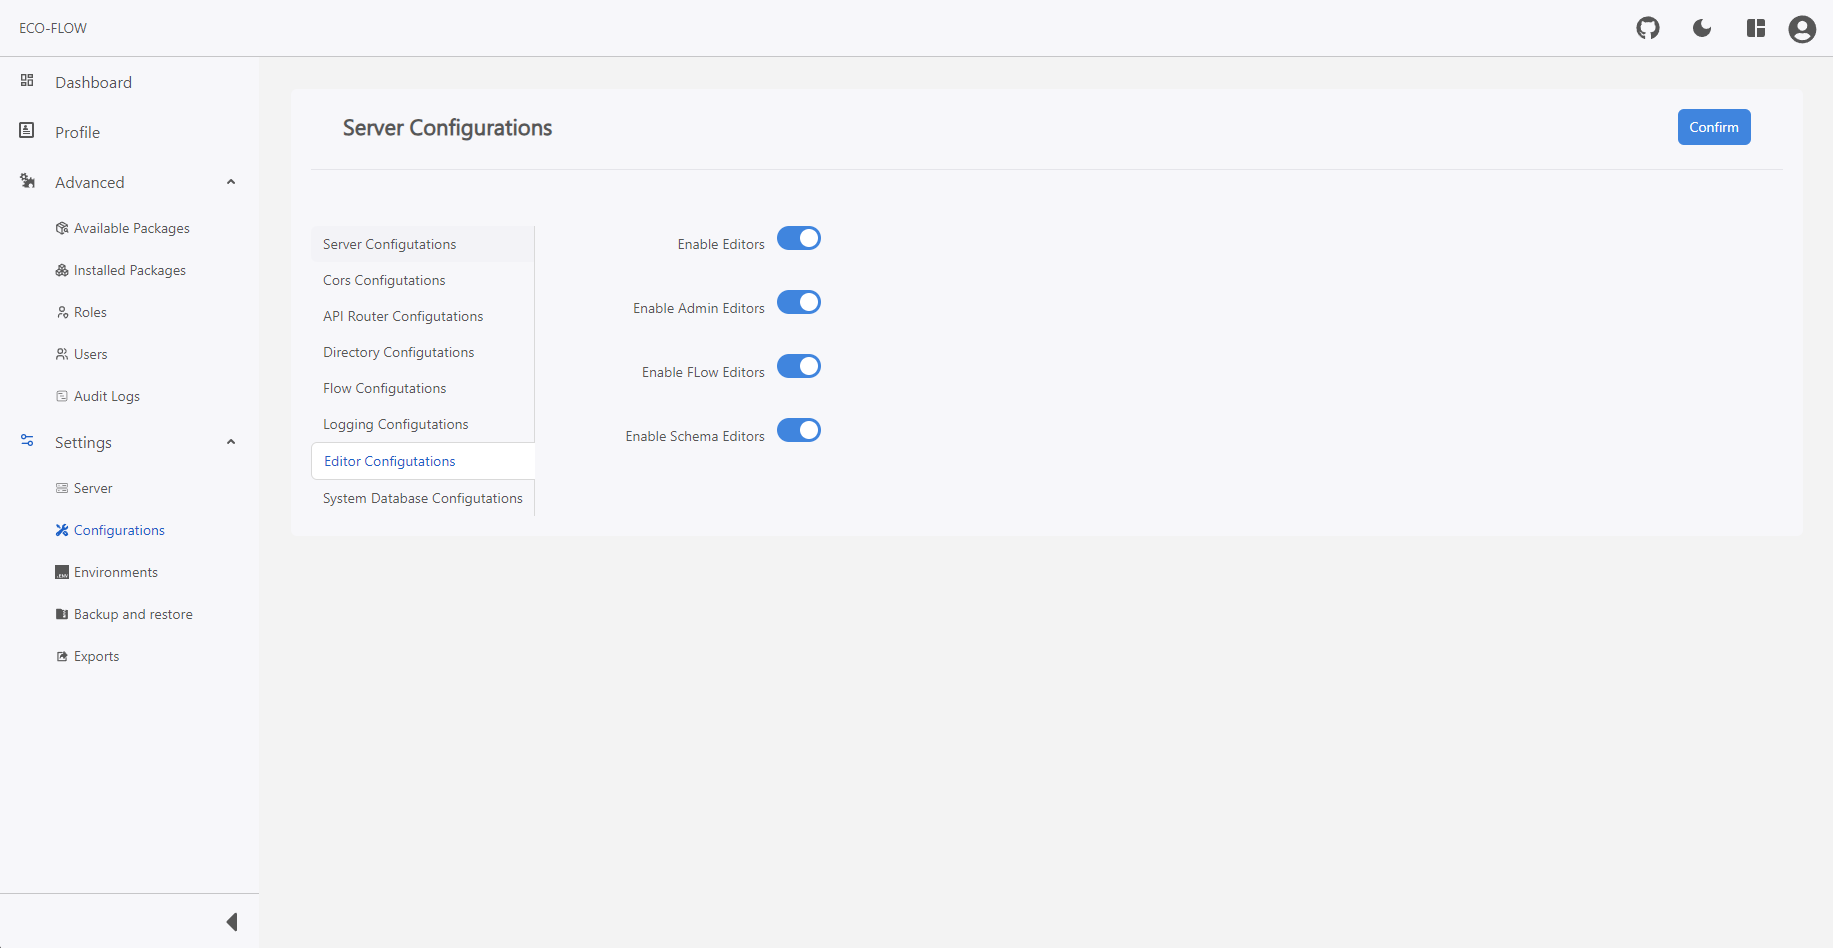
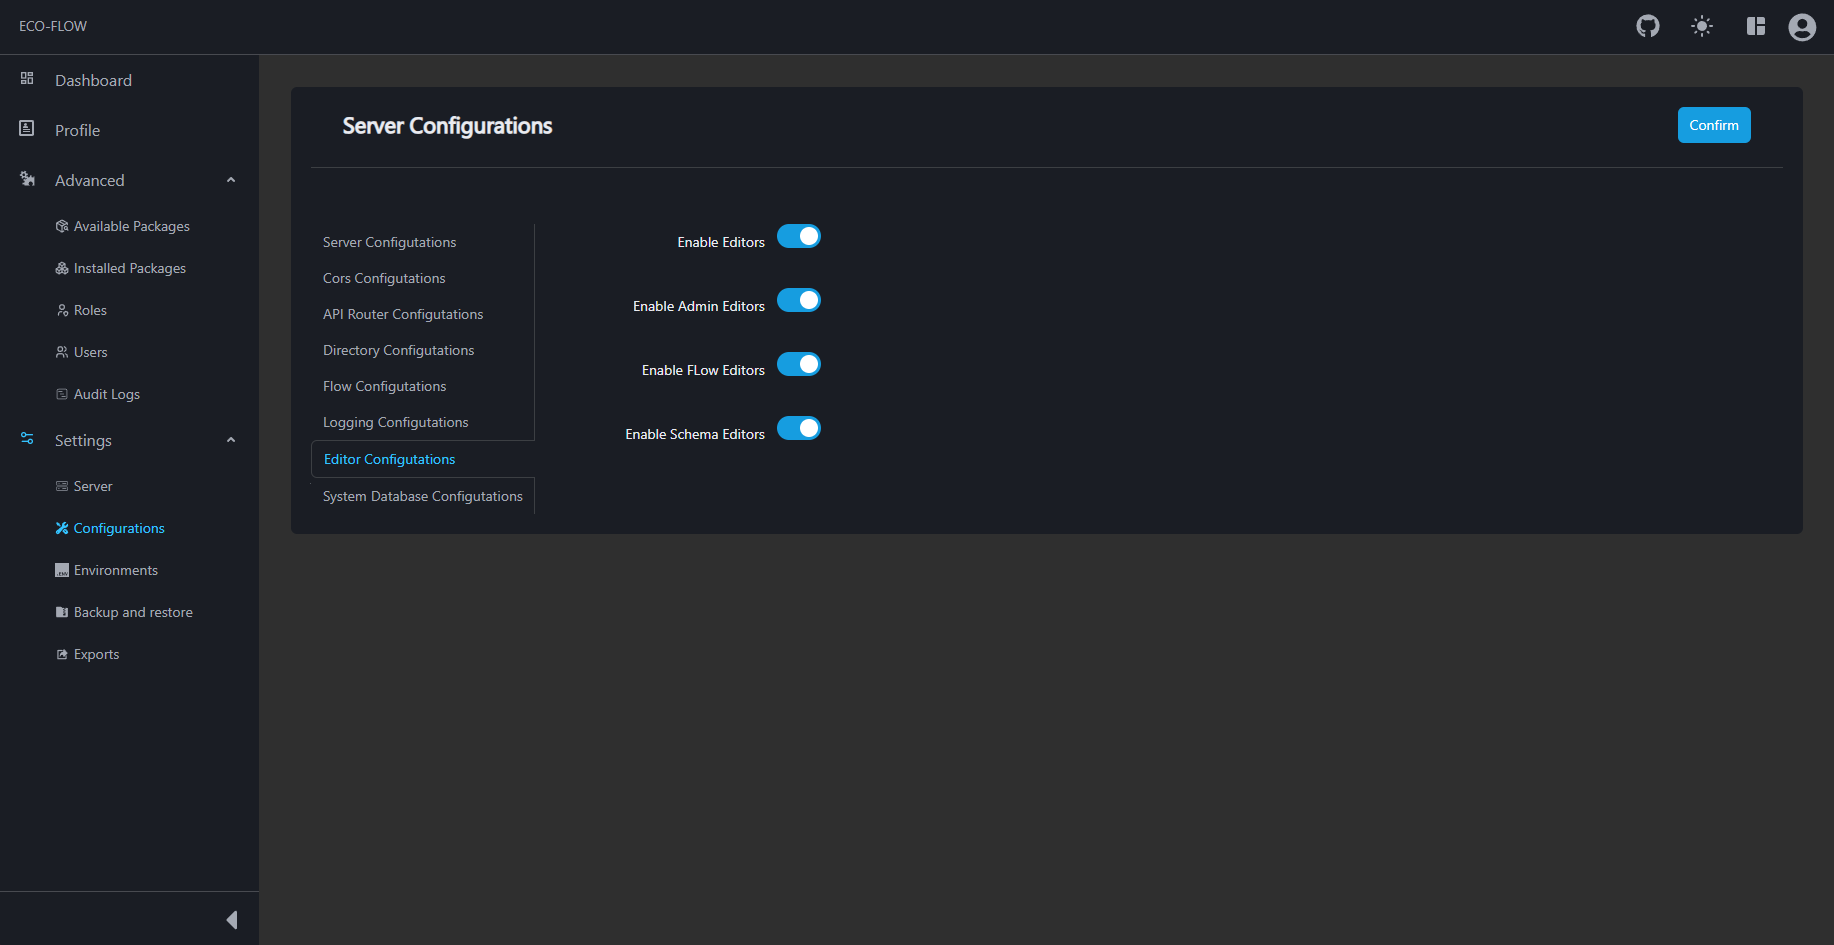
To access the Editor Configuration:
- Access the Server Configuration. For more information about how to access the Server Configuration see here.
- Click on Editor Configuration to open the Editor Configuration.
- Fill up the Editor Configuration details:
| Field | Description | Default |
|---|---|---|
| Enable Editors | Enable/Disable editors. | true |
| Enable Admin Editors | Enable/Disable admin editors. | true |
| Enable FLow Editors | Enable/Disable fLow editors. | true |
| Editors Schema Enable | Enable/Disable schema editors. | true |
- Commit the changes. For more information see here.
System Database Configuration
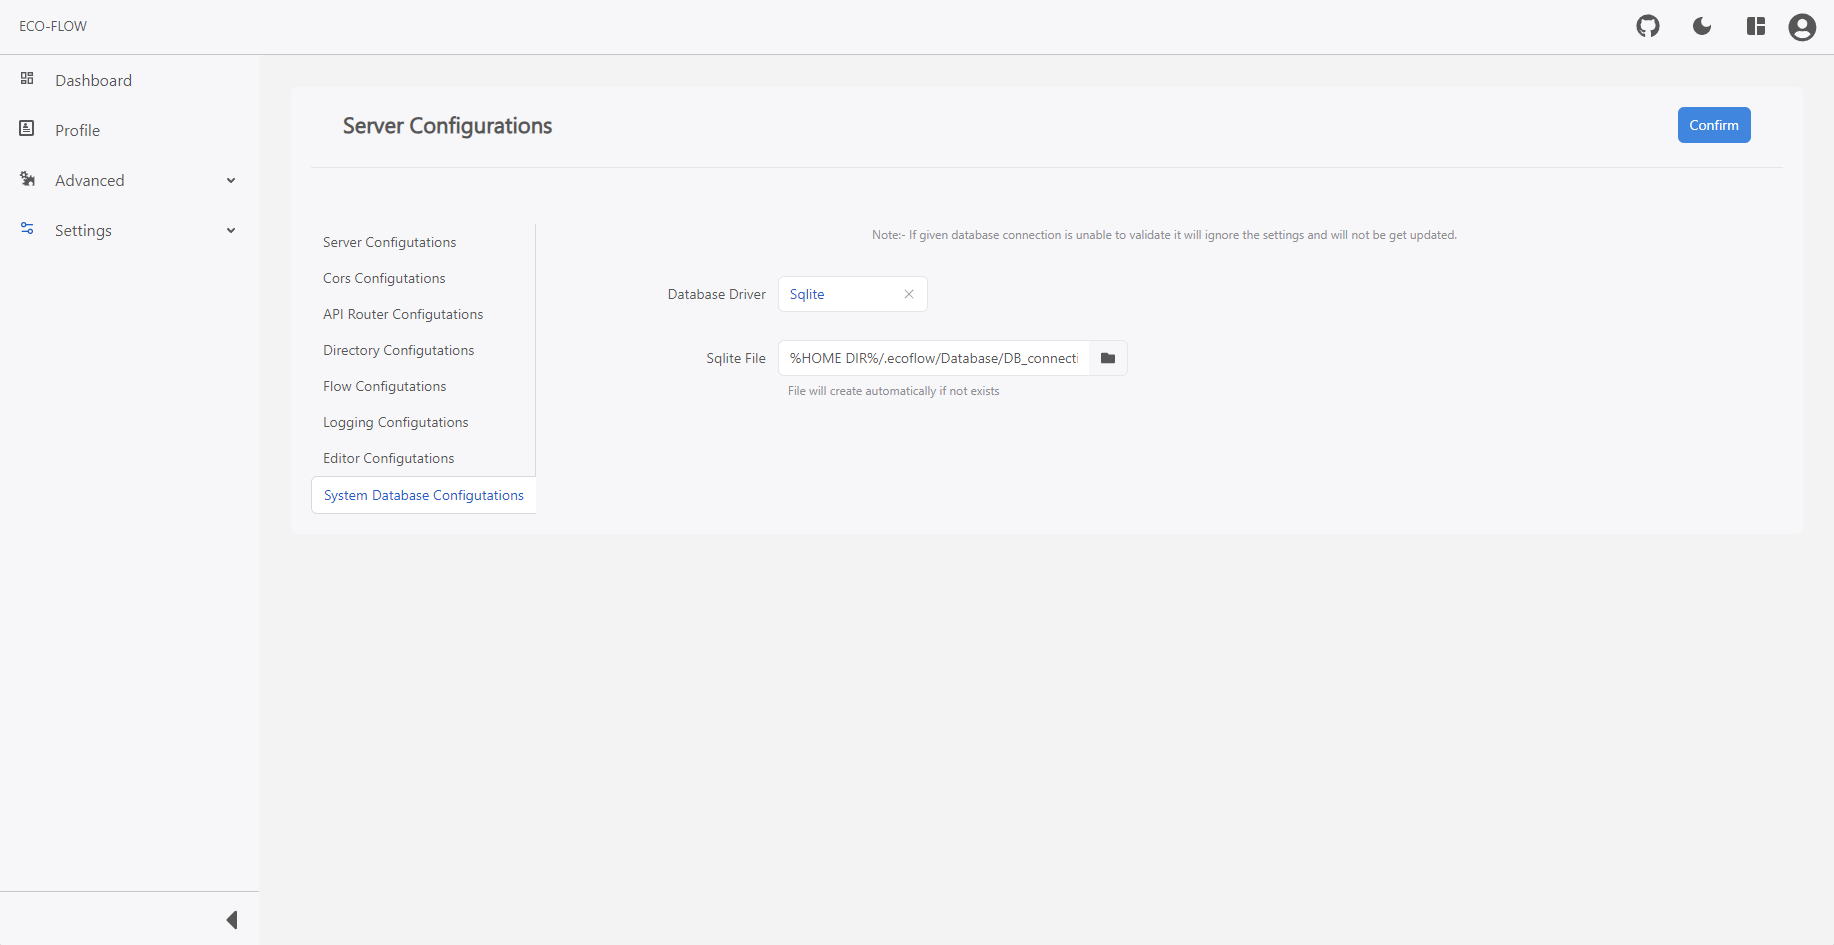
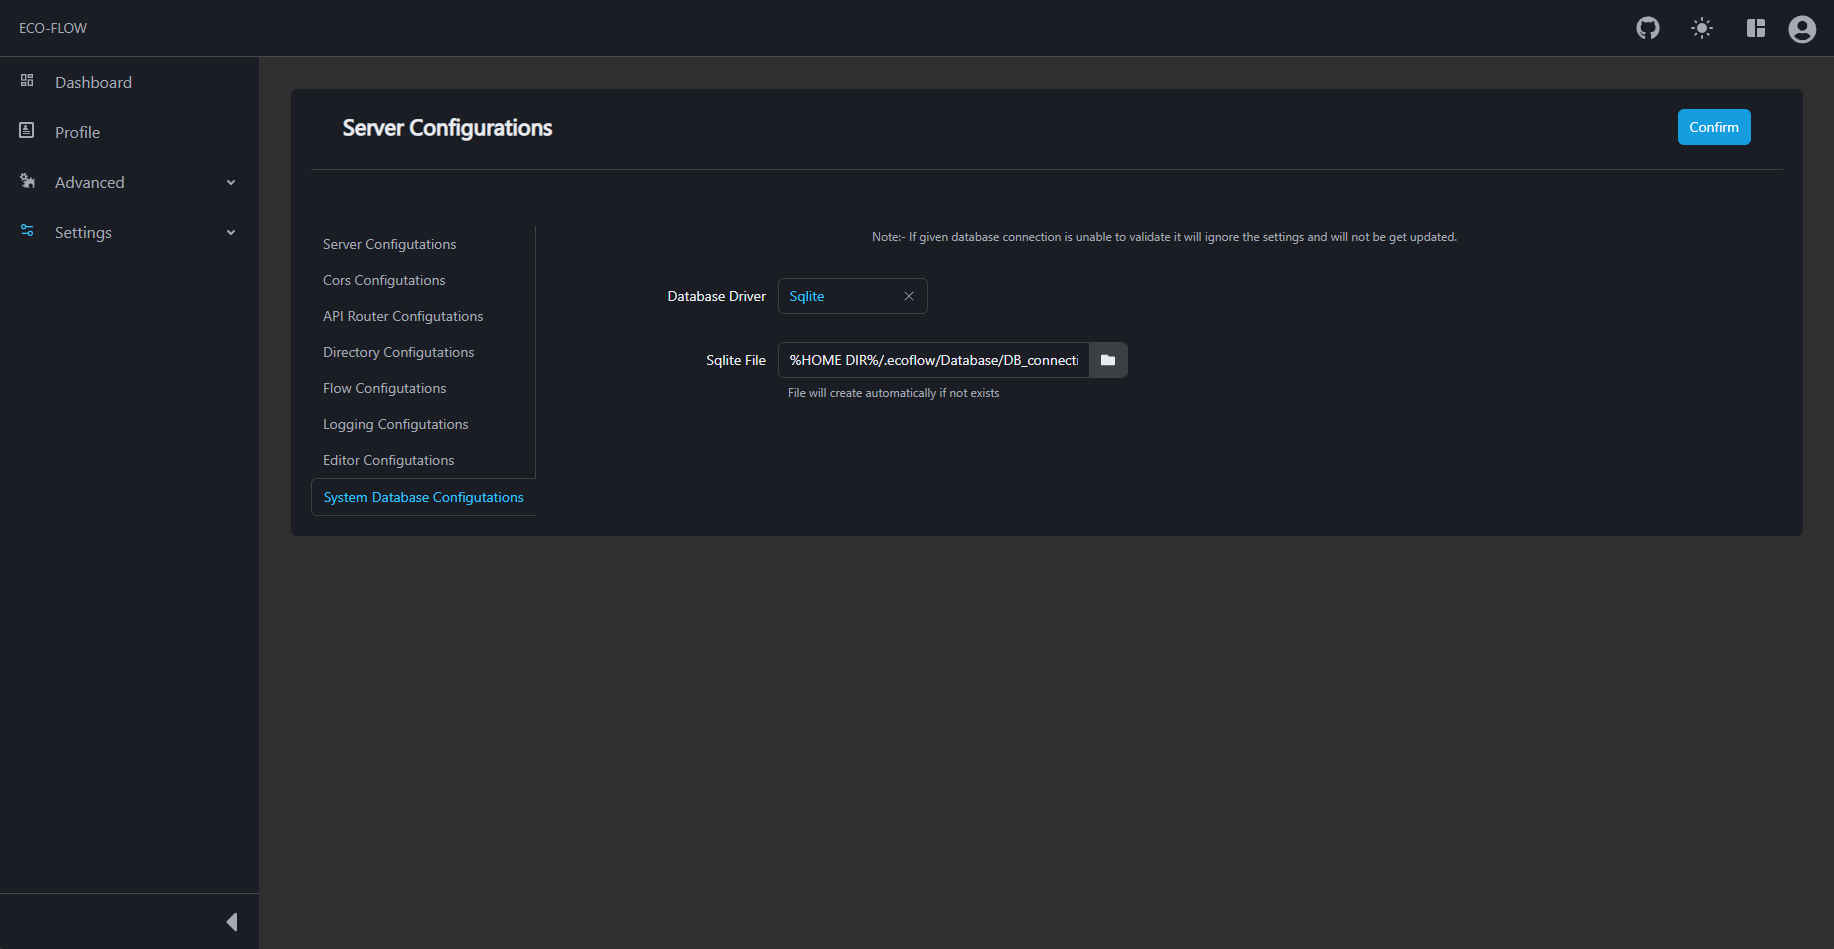
To access the System Database Configuration:
- Access the Server Configuration. For more information about how to access the Server Configuration see here.
- Click on System Database Configuration to open the System Database Configuration.
- Select your preferred database driver base and configurations accordingly.
Supported Database Drivers:
| Database | Minimum | Recommended |
|---|---|---|
| MongoDB | 5.0.27 | 7.0.11 |
| MySQL | 5.7.8 | 8.0 |
| PostgreSQL | 11.0 | 14.0 |
| SQLite | 3 | 3 |
- Commit the changes. For more information see here.
Commit Server Configuration
- Click on Confirm to commit the changes.
- Confirm the changes by clicking on Confirm in the confirmation modal window.
Any changes to the server system database configuration allows you migrate your database or if you want to create a new blank database it also available as option keeping all your data saved in the previous database.
- Make sure that provided configuration is a valid configuration, any invalid configuration may leads to the crash of your application.
- Make sure that you know what you are doing, or just leave the configuration unchanged.
In case the application gets crashes due to invalid configuration, can be easily be resolved by restoring the configuration which get automatically backed up during the commitment of the configurations.
To do so, just remove the current configuration present at %HOME DIR%/.ecoflow/config named ecoflow.json and rename latest backed up at same directory to ecoflow.json.
After that restart your application.