Database Table Structure
EcoflowJS allow you to design your own table structure in your application without worrying about schema changes and configuration.
note
Table structure is supported for MYSQL, POSTGRESQL and SQLite.
Create Table
To create a new table follow the steps below:
- From the Schema Editor Dashboard, Click the database connection you want to connect and configure.
- Click on Add Table to create a new table.
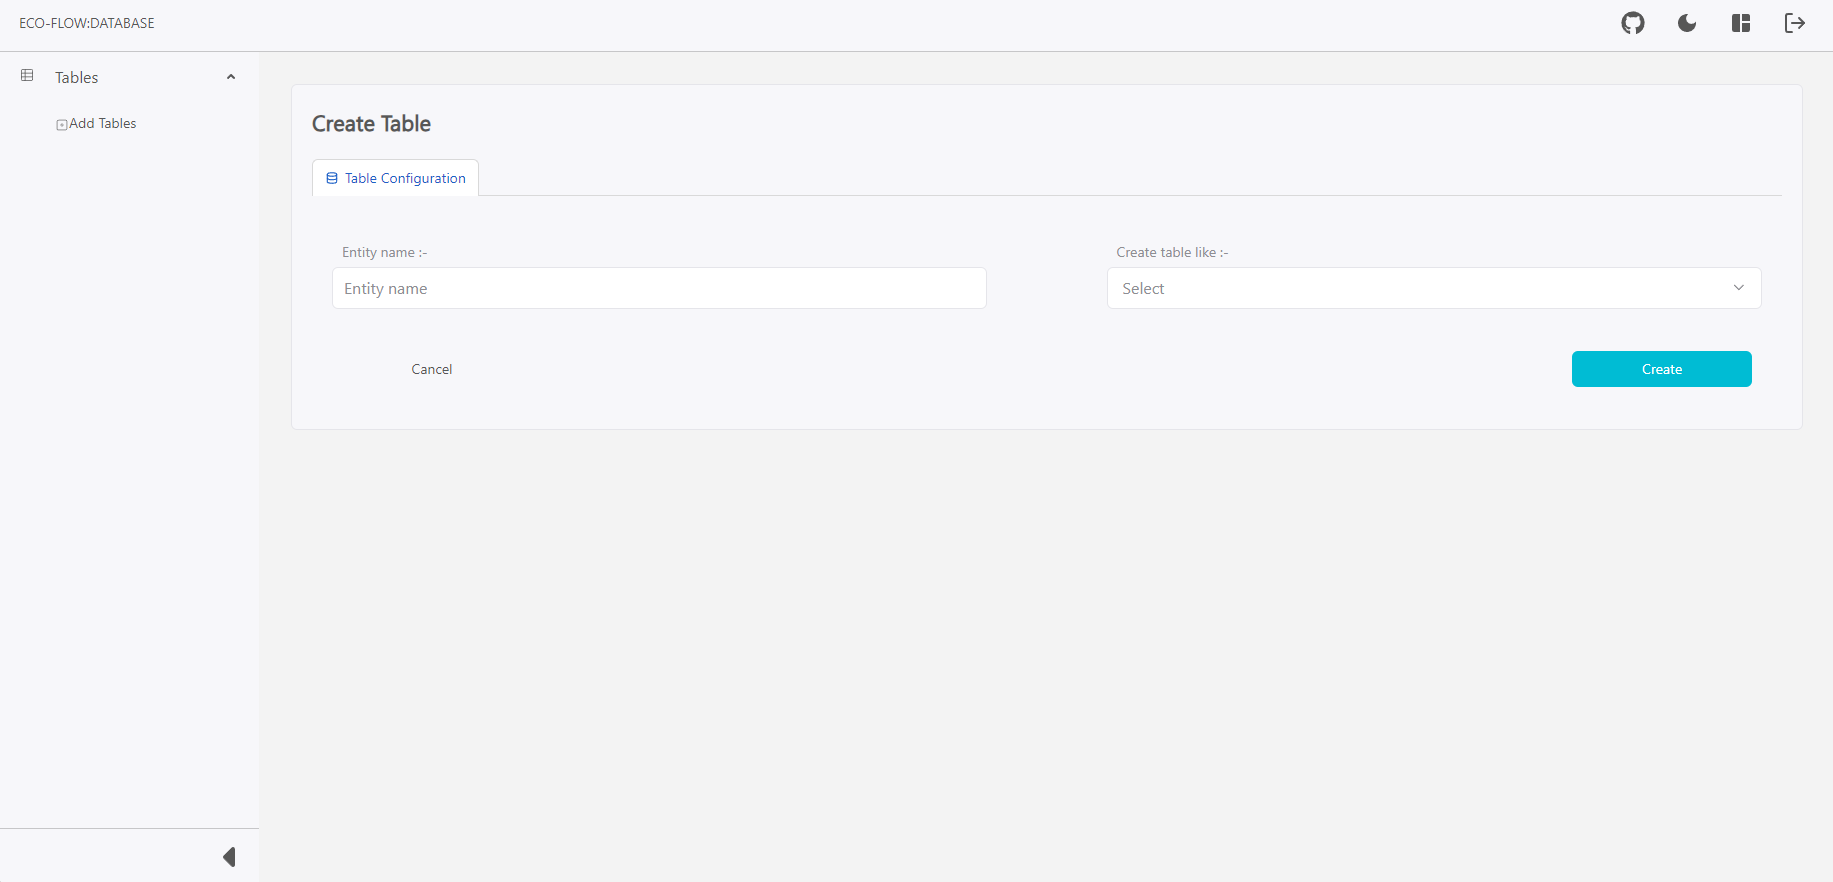
- Enter the Name you desire. If you want copy structured of a table select the table.
- Click on Create to create the table.
Rename Table
To rename a table follow the steps below:
- From the Schema Editor Dashboard, Click the database connection you want to connect and configure.
- Click on Rename Table to open rename modal.
- Enter the New Table Name you want to set.
- Click on Confirm to commit the changes.
Drop Table
To drop a table follow the steps below:
- From the Schema Editor Dashboard, Click the database connection you want to connect and configure.
- Click on Drop Table to open rename modal.
- Enter the Table Name and click on Confirm to commit the changes.
Manage table structure
To manage a table follow the steps below:
- From the Schema Editor Dashboard, Click the database connection you want to connect and configure.
- Click on Table you want to manage the structure of.
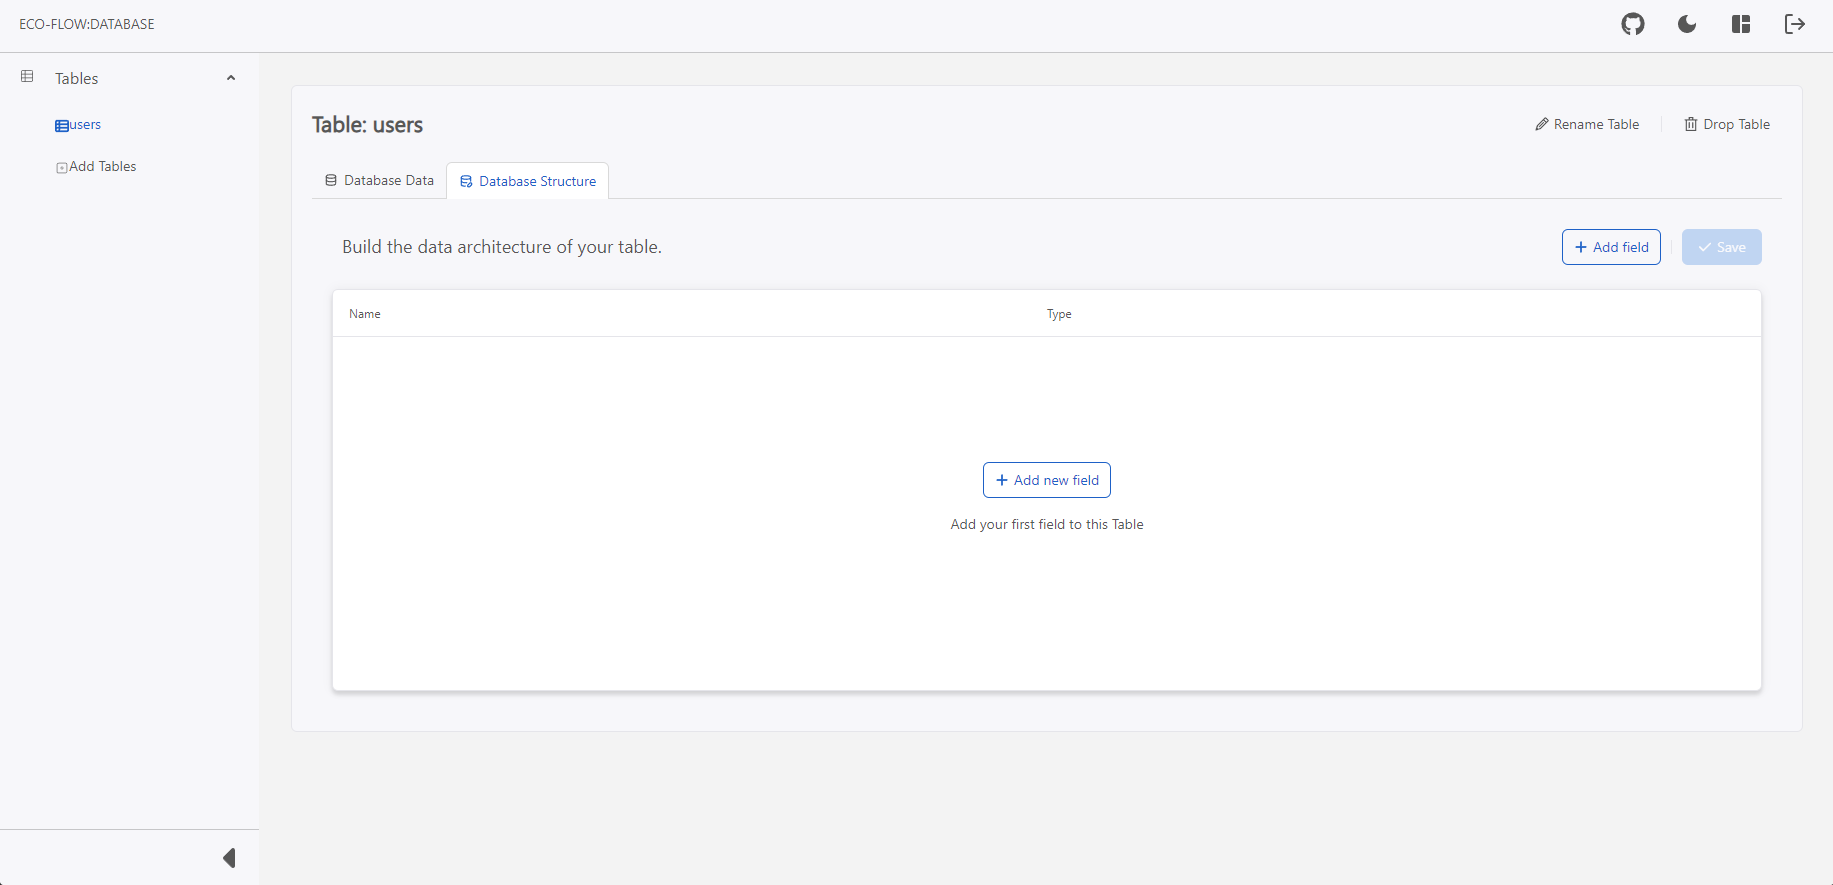
- Click on Database Structure to manage the structure of the table.
- Design your database structure.
Supported structure data types
| Data Type | Description |
|---|---|
| TEXT | Small or long text like string |
| NUMBER | Numbers (integer, decimal,floating point) |
| BOOLEAN | yes or no, true or false |
| DATE | A date picker with hours, minutes and seconds |
| JSON | Data in JSON format |
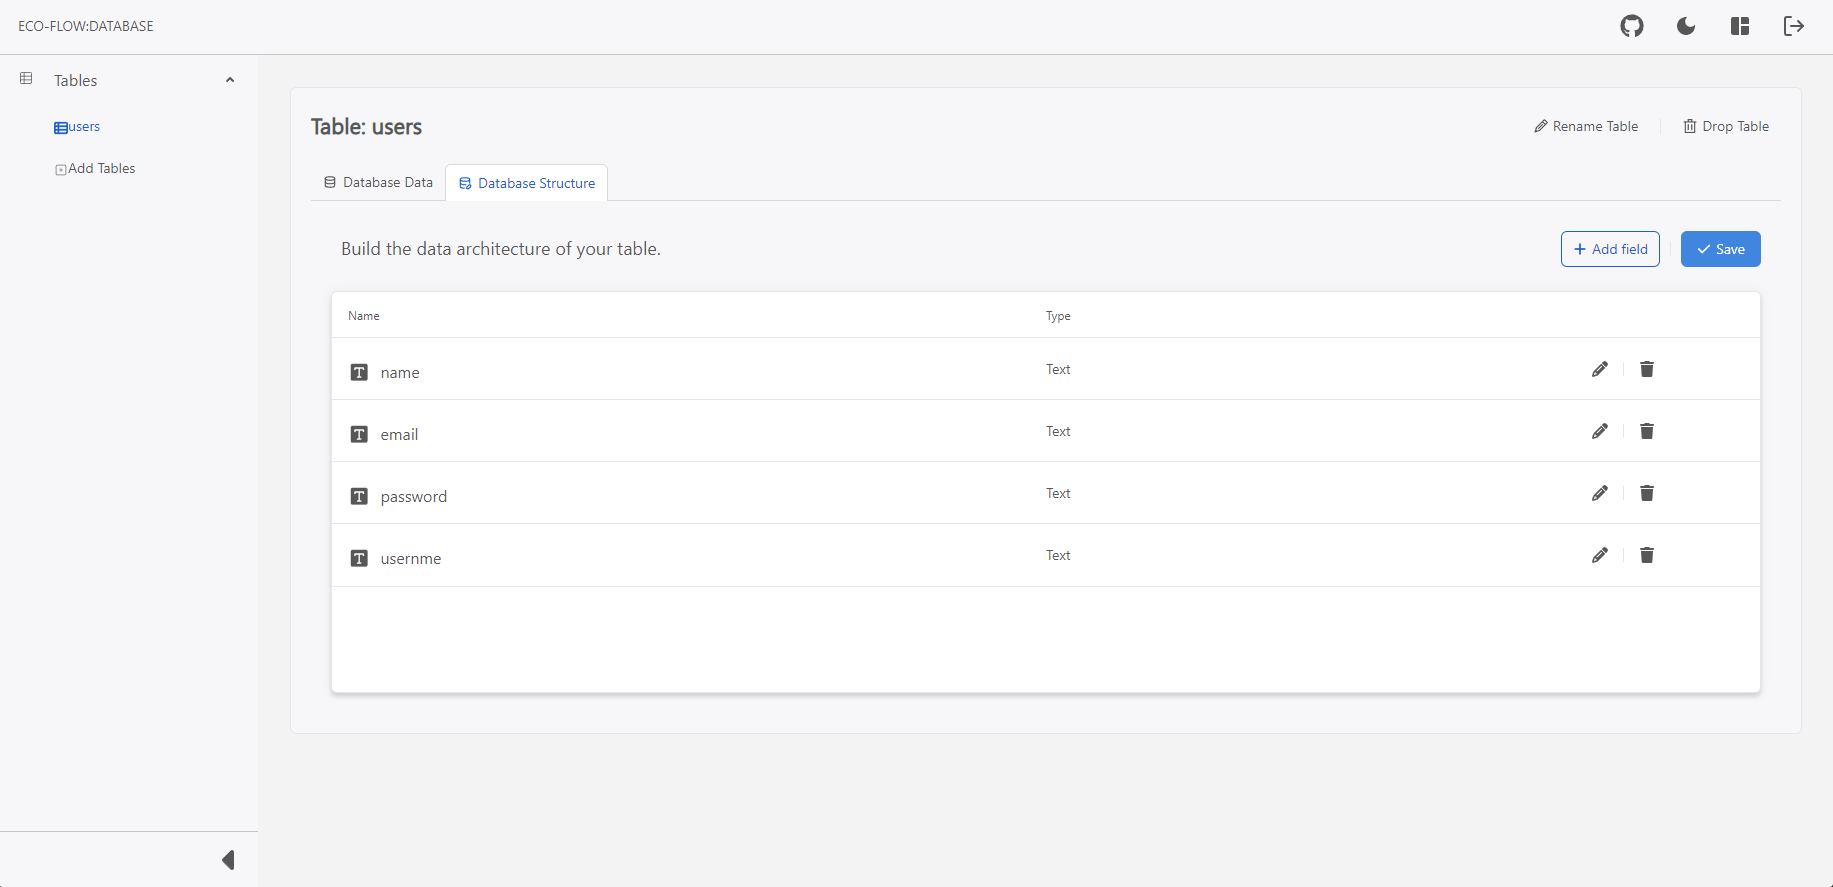
- Click on Save to commit the changes.
notes
All tables contains a default table structure _id as primary key and autoincrement.