Setting up the Application
This steps show how to configure the application once you have successfully installed the application.
If you have launched the application is the Authenticated Environment you may skip the steps on this page. This Step will only works for the Secure Environment.
To start the application in the Secure Environment use:
ecoflow --auth
Begin Setup
Welcome to EcoFlowJS
The welcome screen and basic Terms and Conditions.
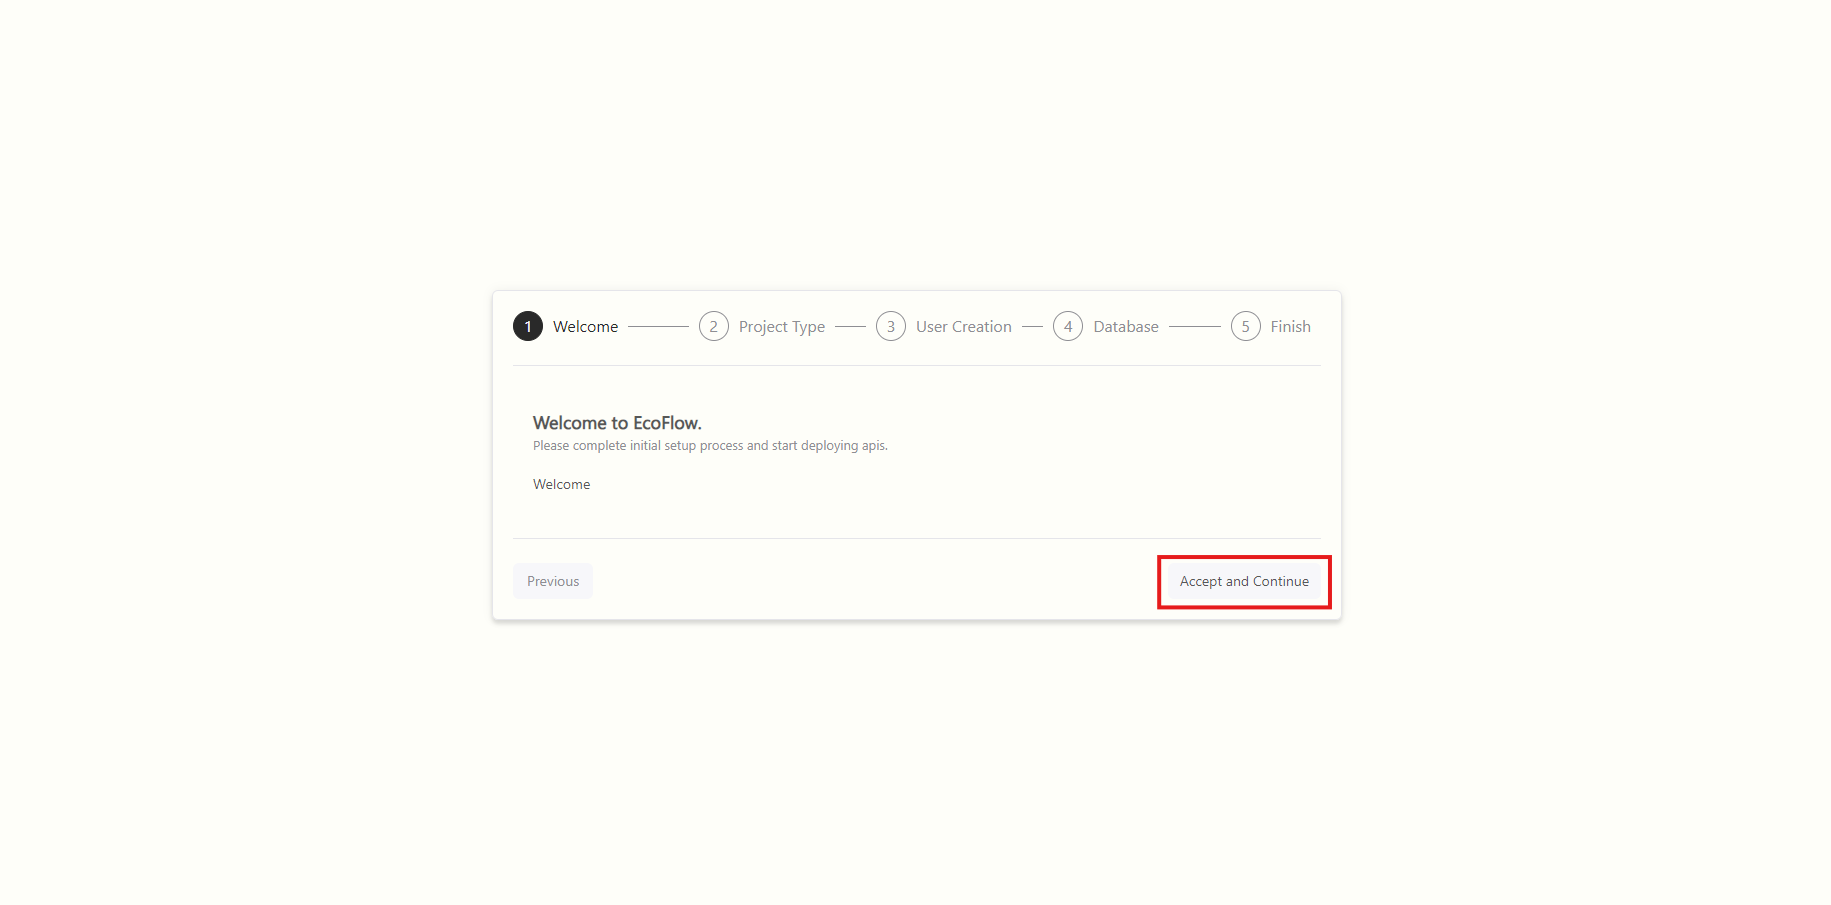
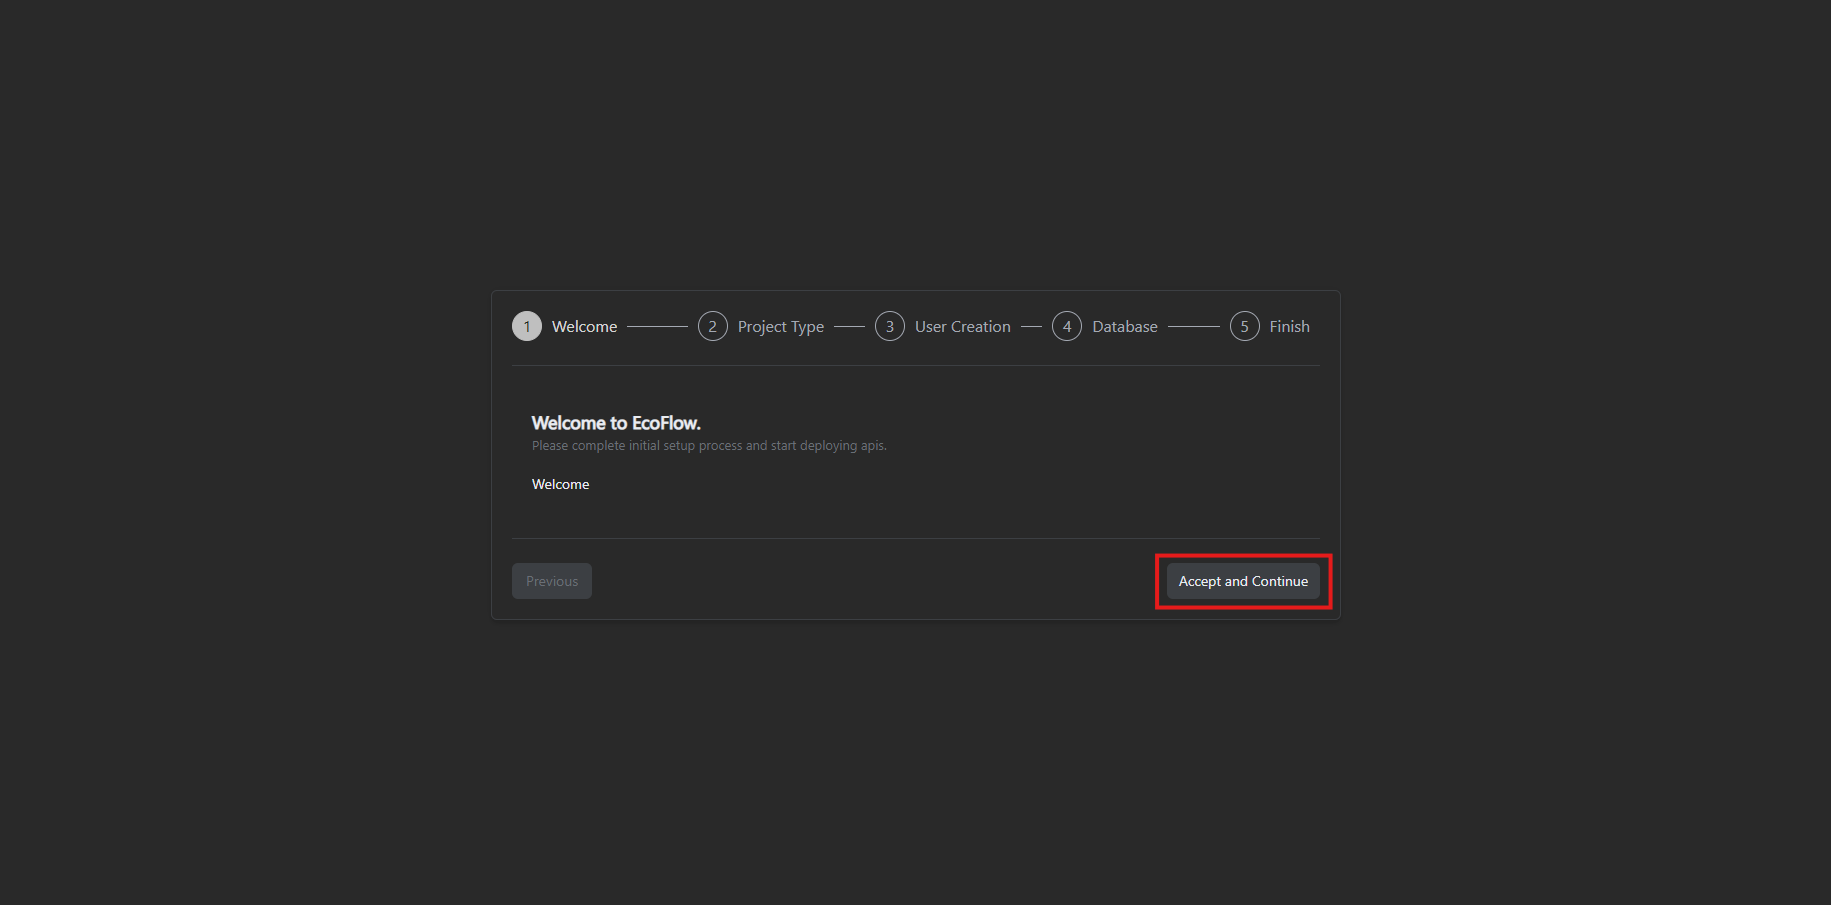
Click on the Accept and Continue button to accept the terms and conditions and proceed to the next step.
Project Types
There are three types of projects available.
- Blank: Create a blank project to house your files, plan your work, and collaborate on code, among other things.
- Create from template: Create a project pre-populated with the necessary files to get you started quickly.
- Import project: Migrate your data from an exported project file.
Create from template is still under development and will available in a future release.
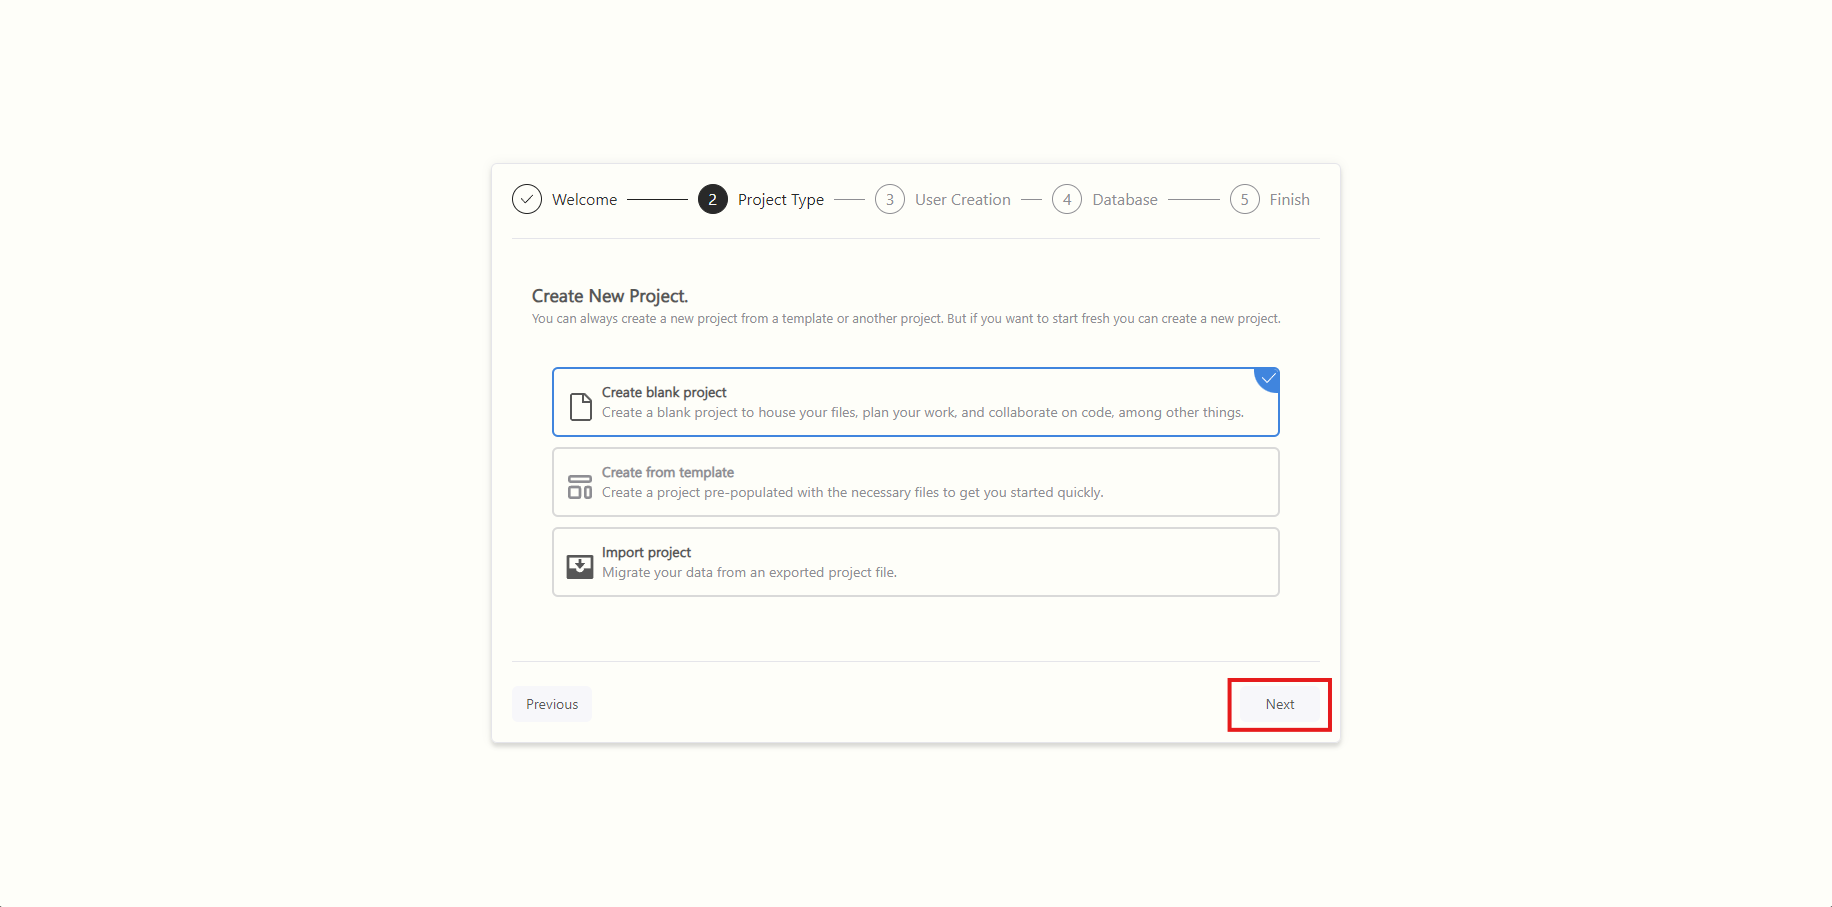
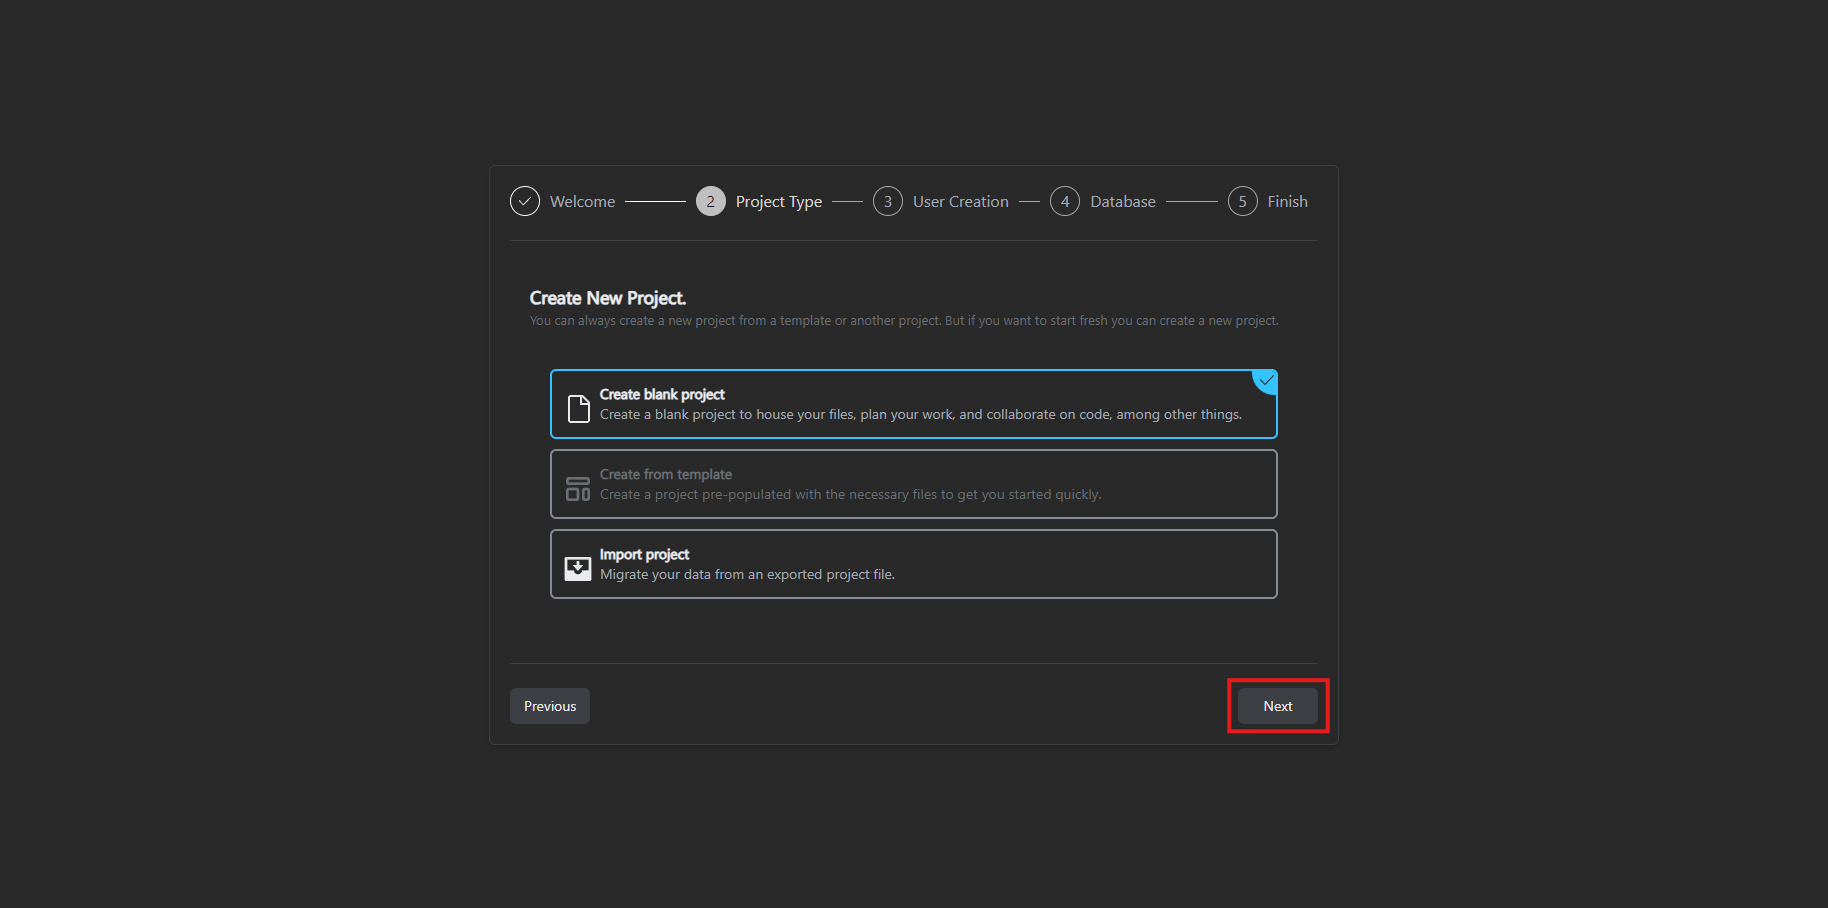
Select your project type and click next to proceed to the further steps.
User Creation or Import selections
If you have selected Blank for your project then proceed to the following steps for creation of a default admin user for the application
The default admin user is a non-deleteable user and also the default user for the CLI admin commands.
User Creation
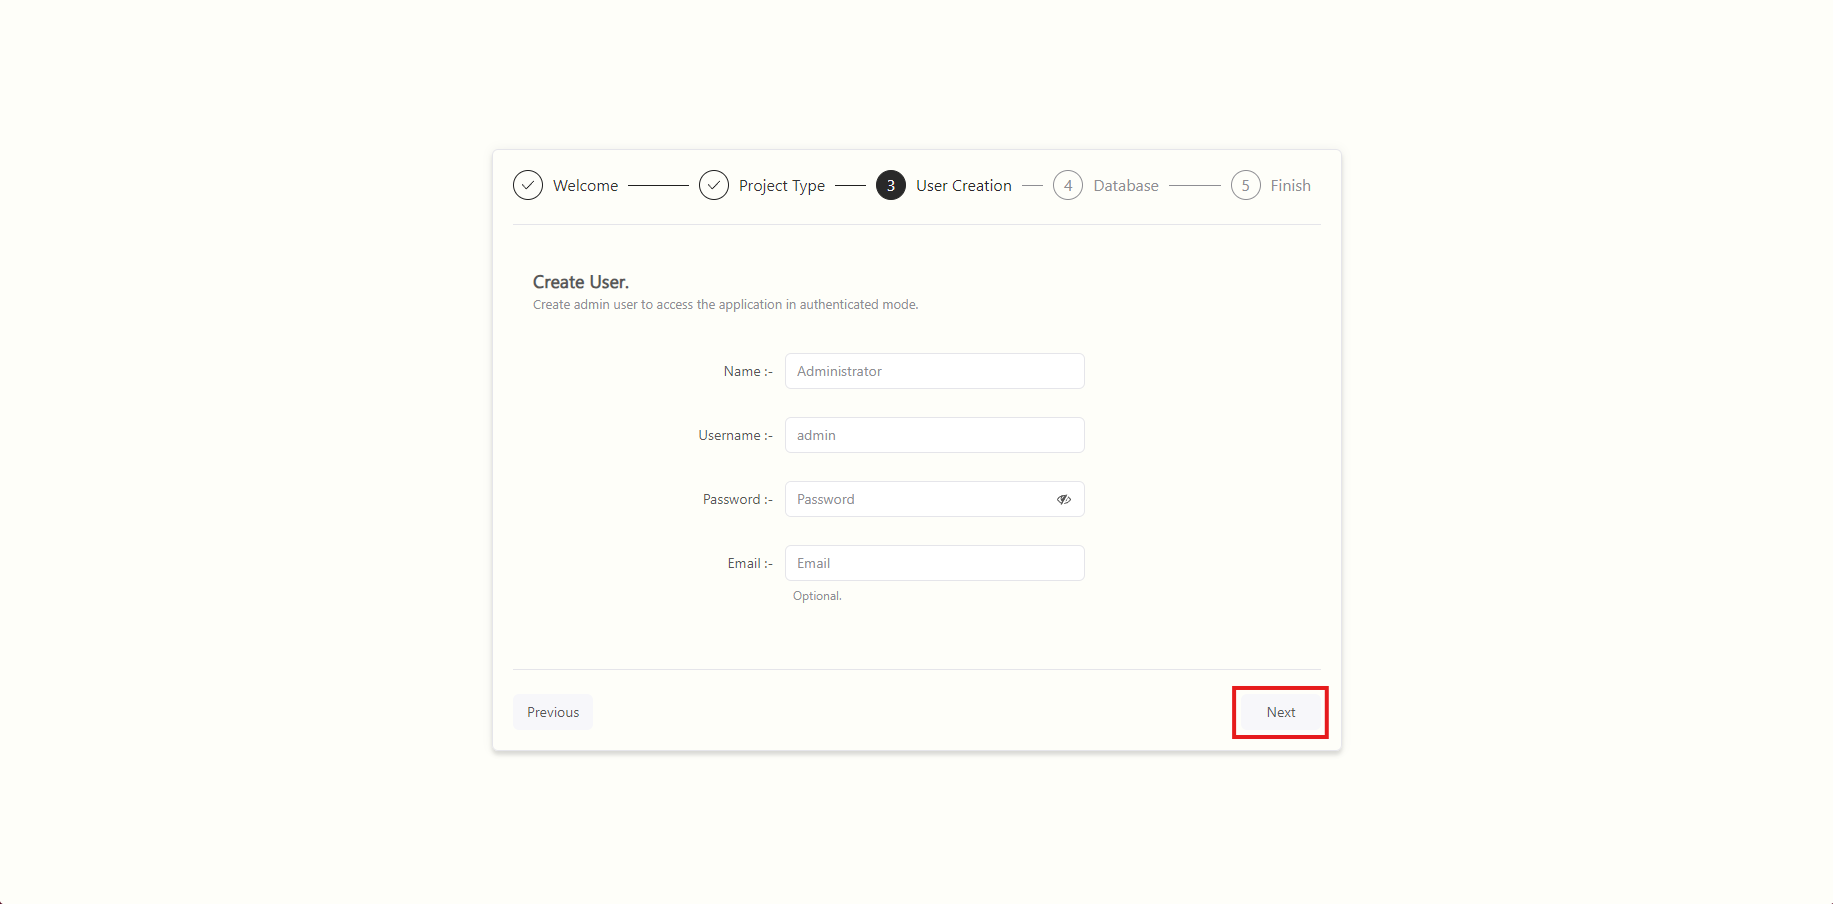
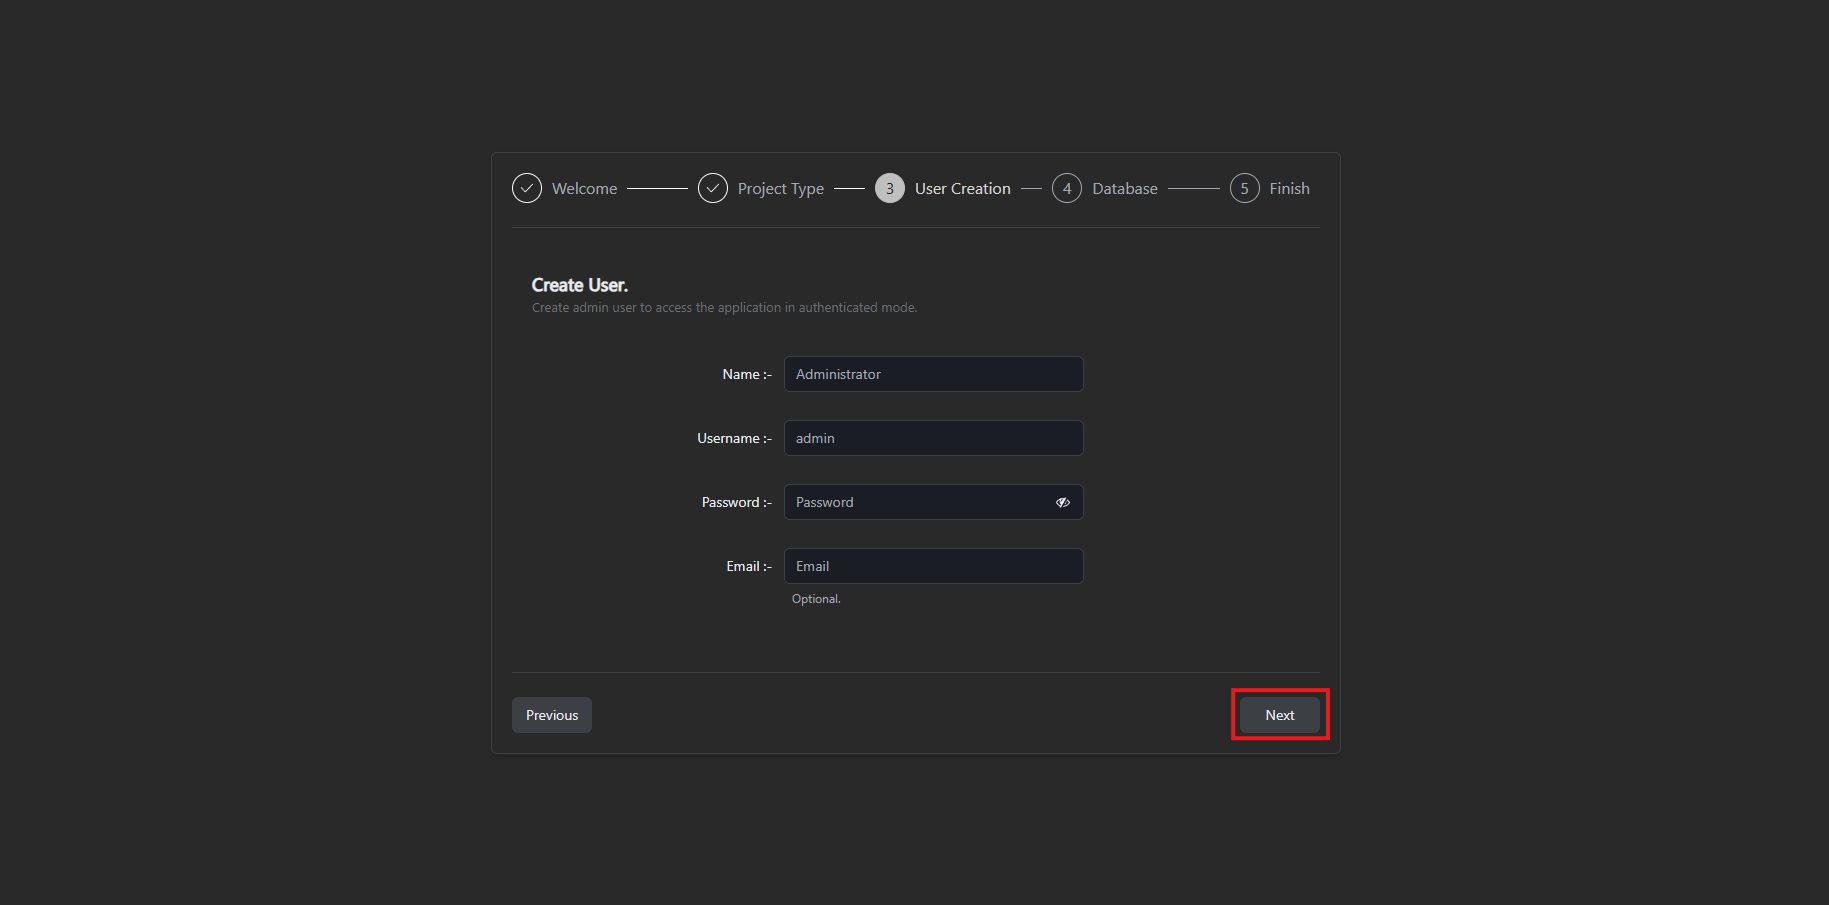
Fill up the default admin user details and click next to proceed to the further steps.
| Fields | Description |
|---|---|
| Name | Name of the user. |
| Username | Username for the user. |
| Password | Password for the user |
| Optional: Email for the user. |
Import selections
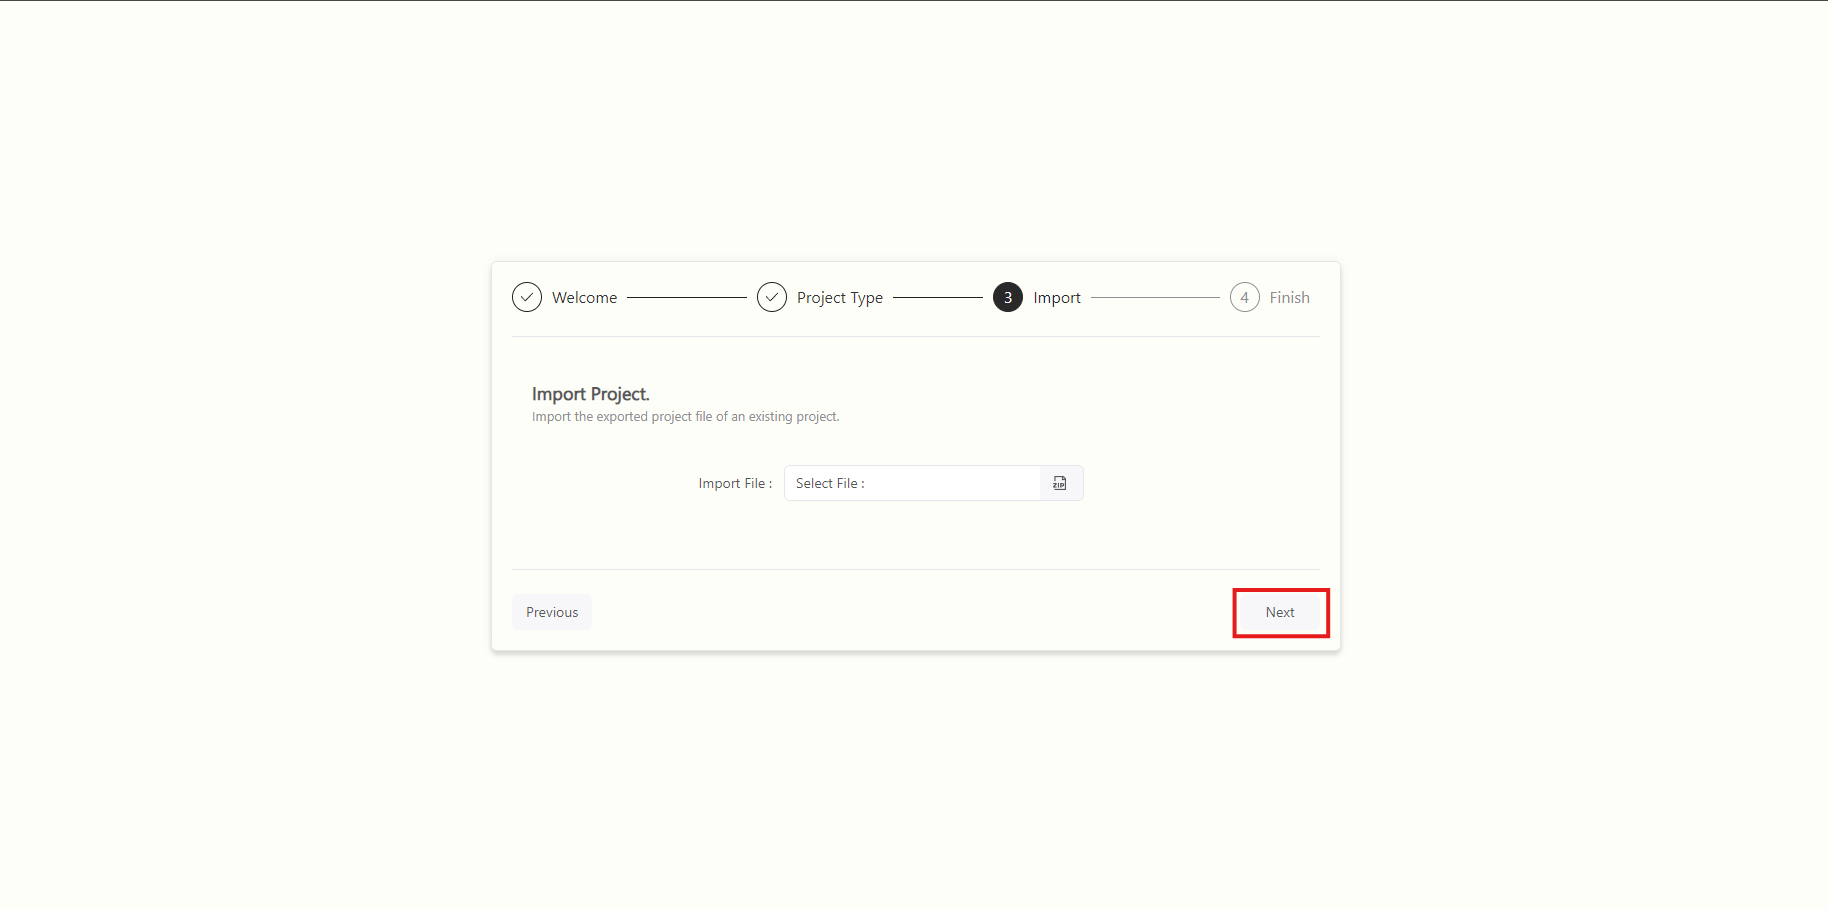
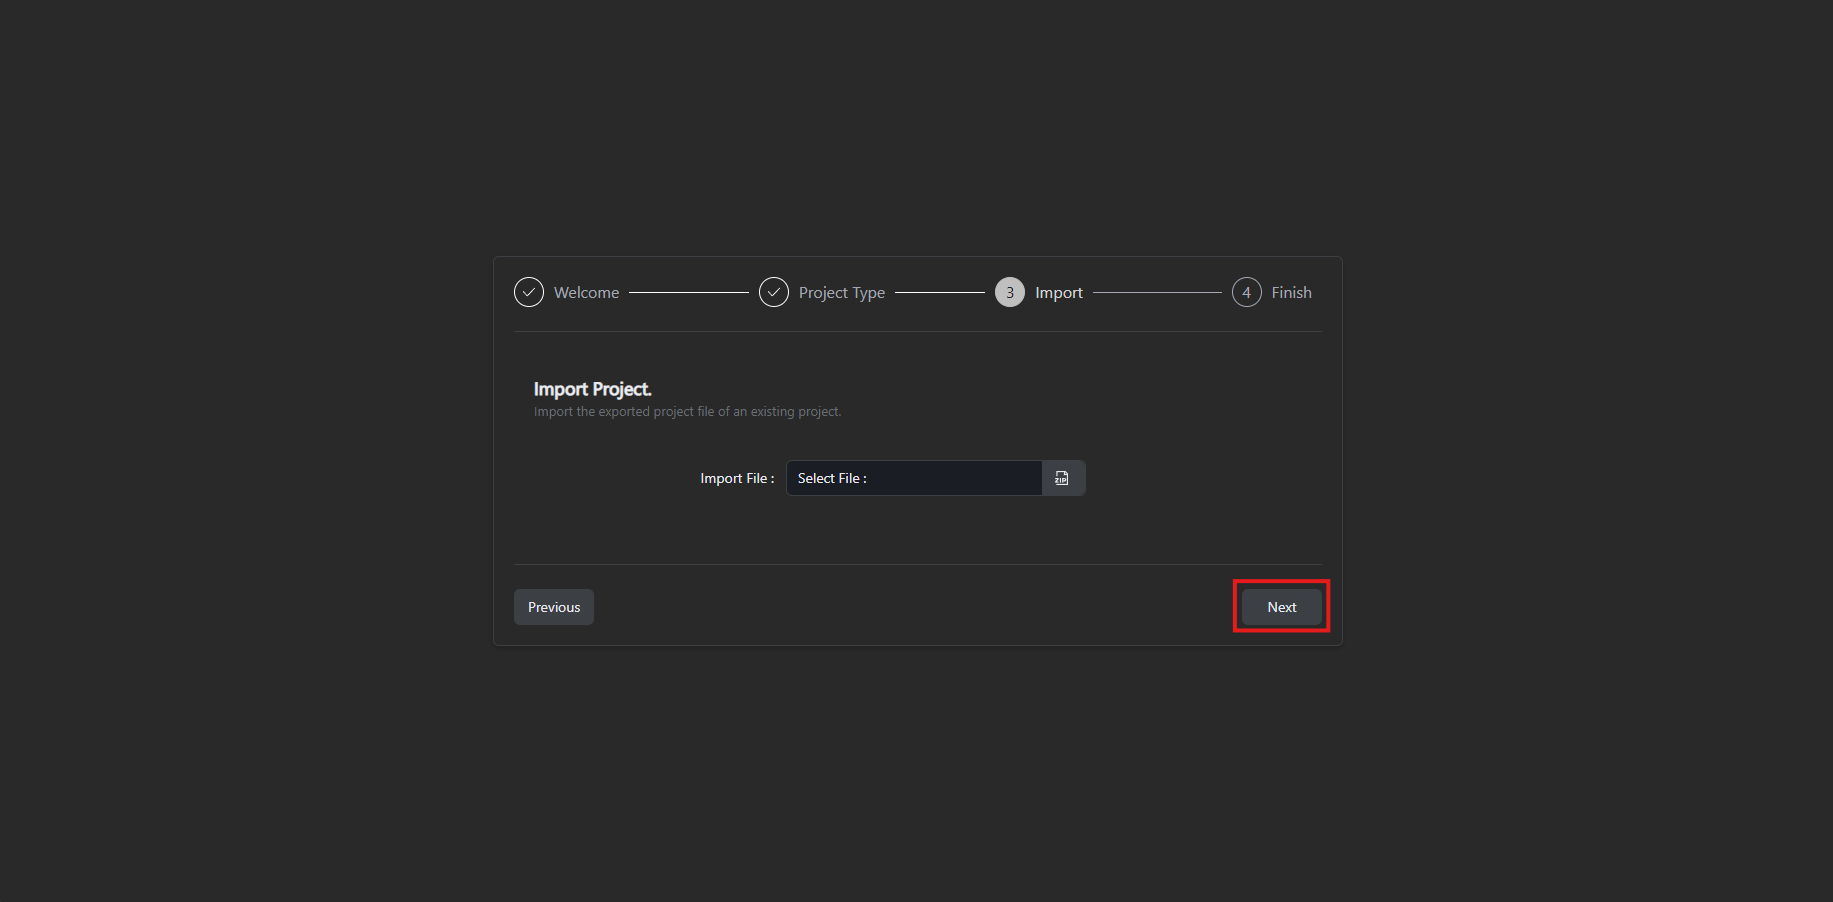
Select the exported zip file and click next for the final confirmation.
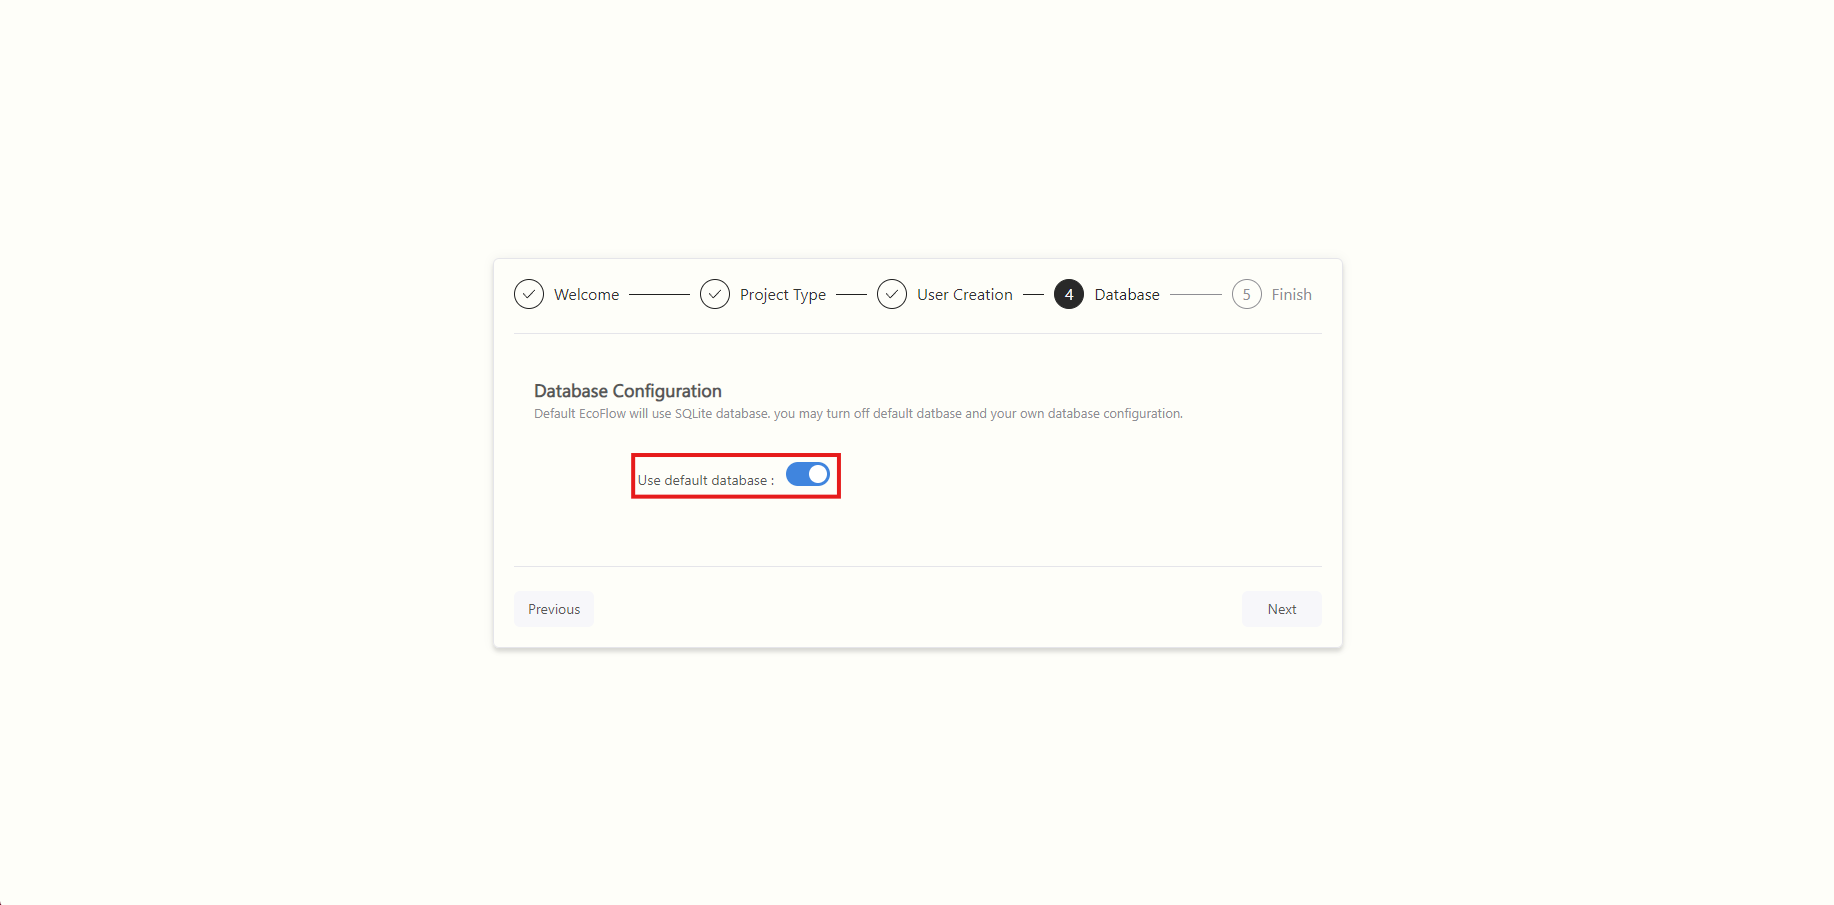
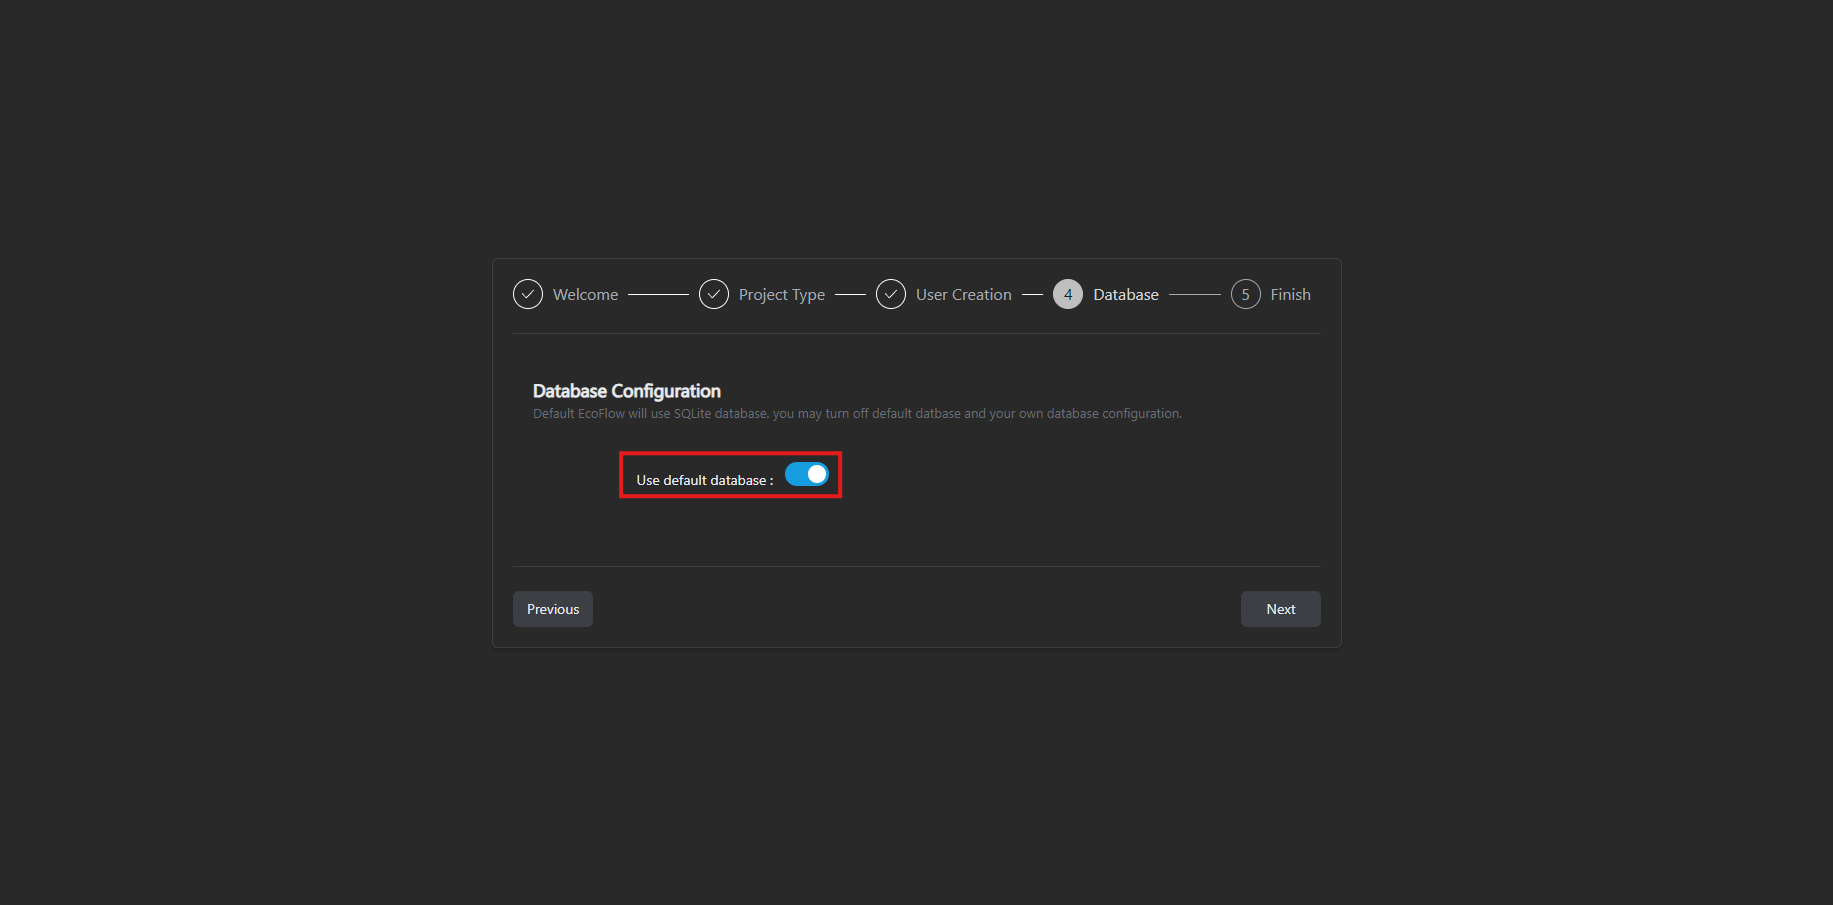
Database Configuration
This database configuration is just for the application itself. By default the database is SQLite but can be changed by toggling the button
Supported Database Drivers:
| Database | Minimum | Recommended |
|---|---|---|
| MongoDB | 5.0.27 | 7.0.11 |
| MySQL | 5.7.8 | 8.0 |
| PostgreSQL | 11.0 | 14.0 |
| SQLite | 3 | 3 |
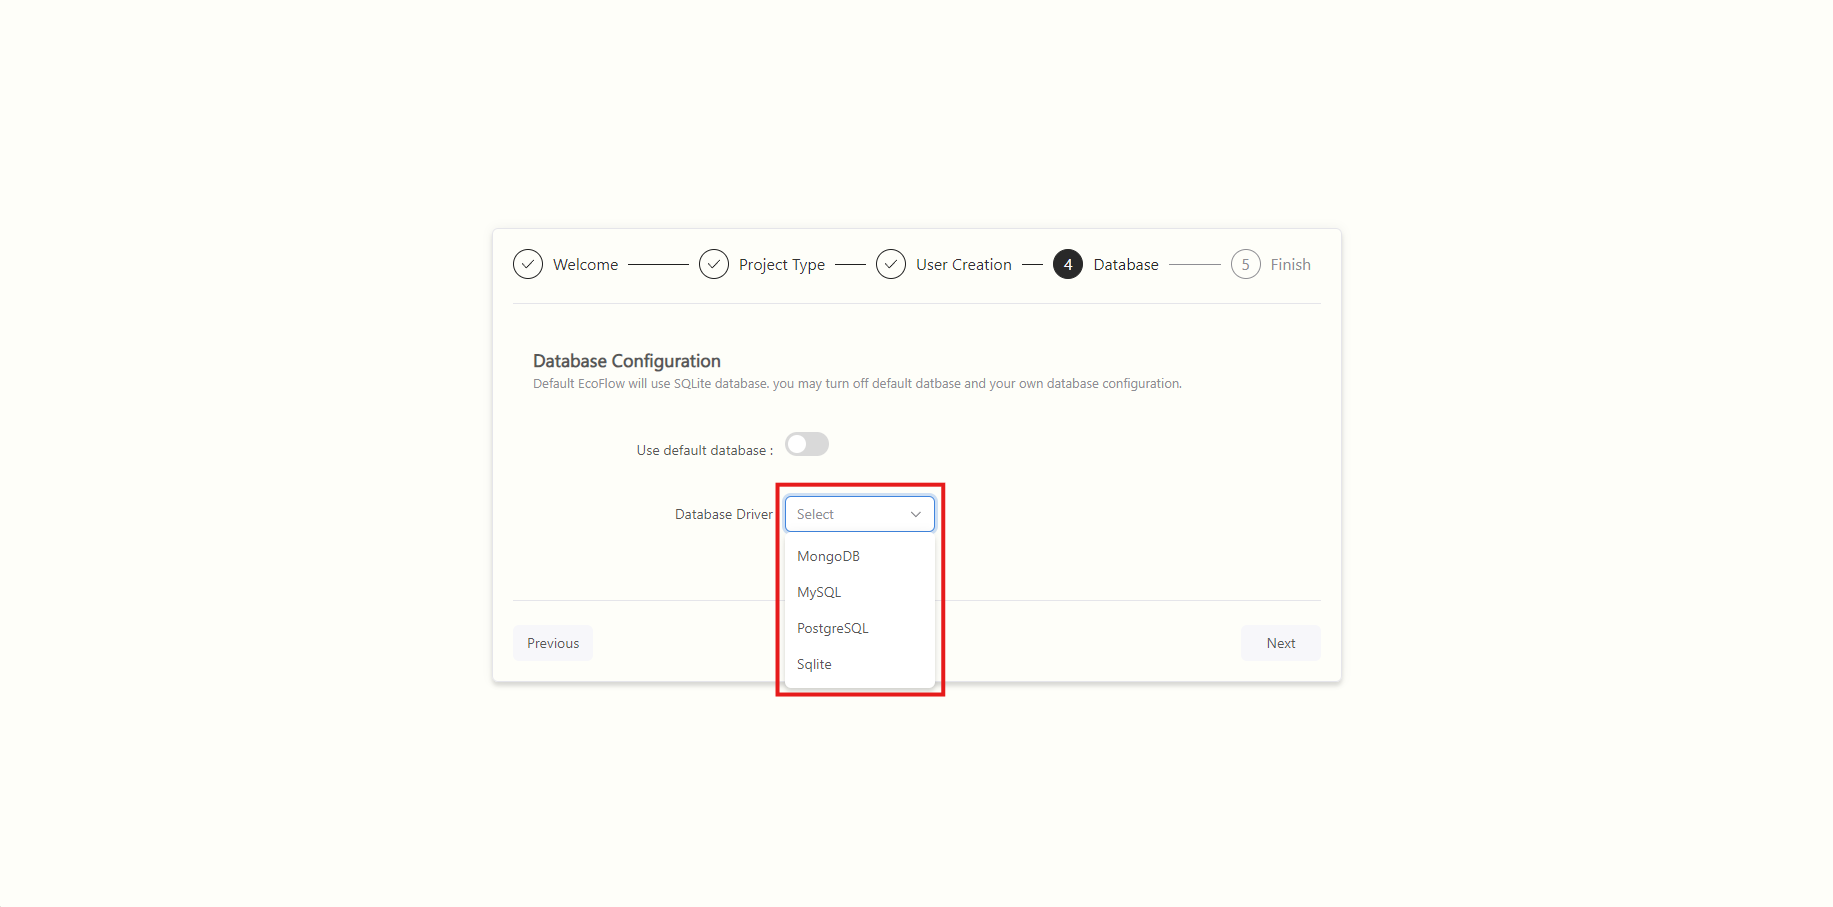
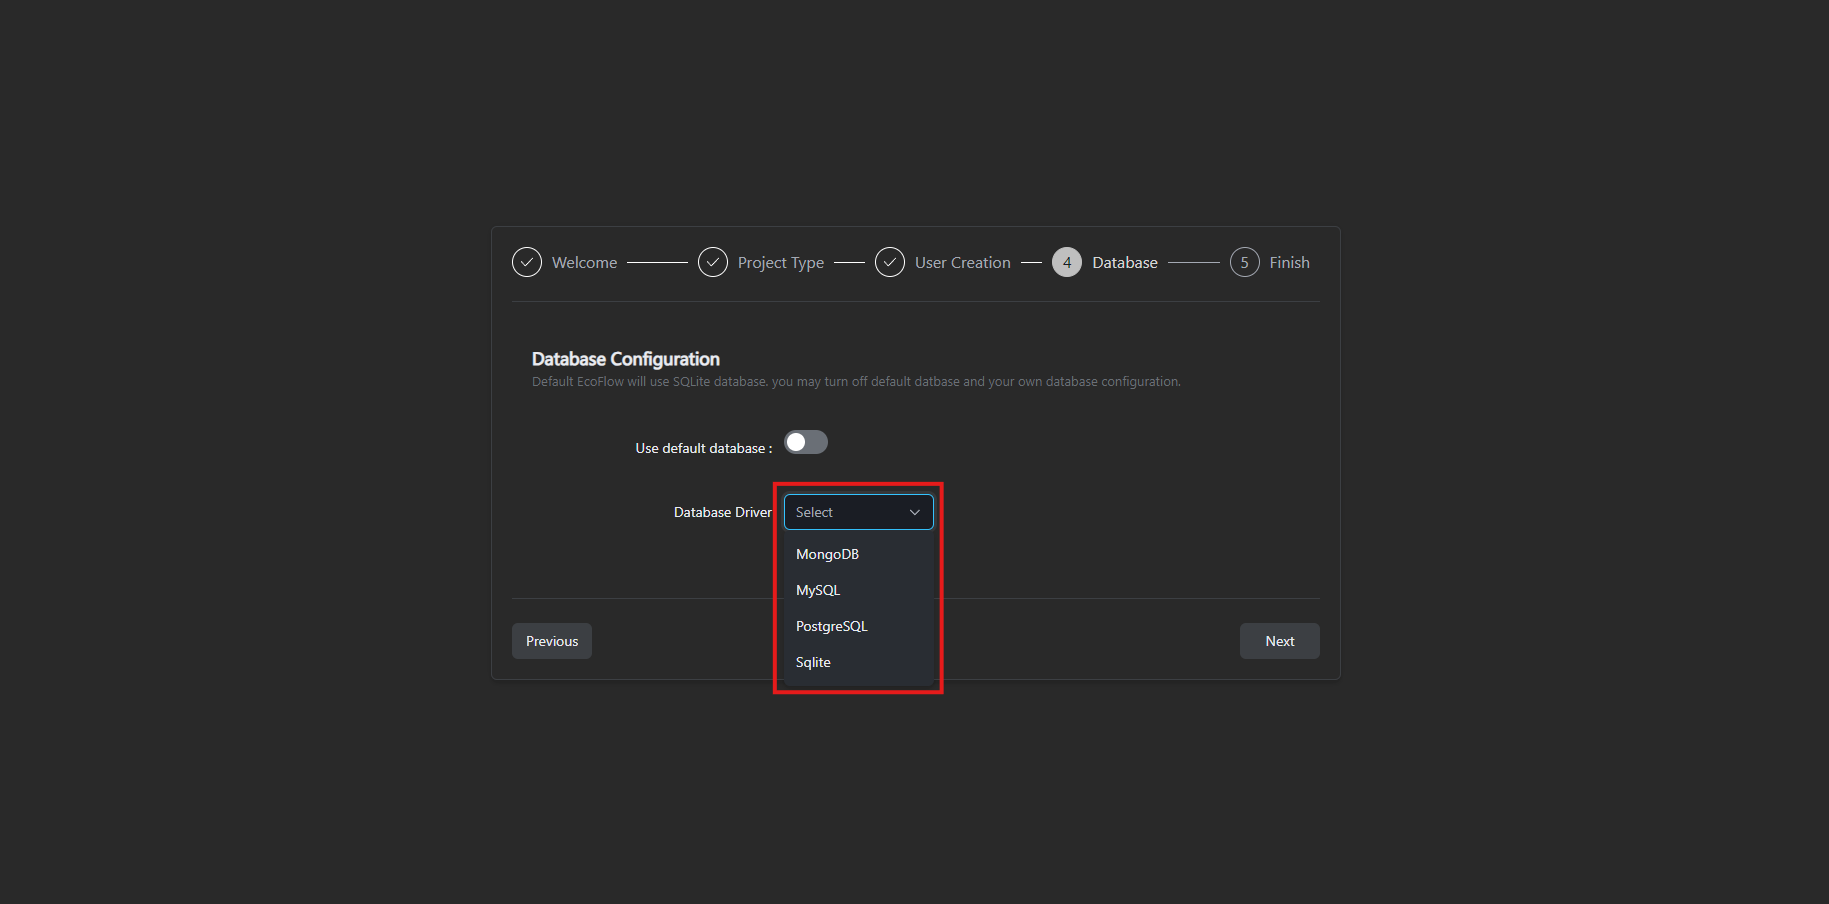
Select your preferred database driver base and configurations accordingly.
Once configured click next for the final overview of your configuration and finish the setup process.
Finalize
Finalize your configuration by checking the configuration details and confirming it by clicking the finish button.
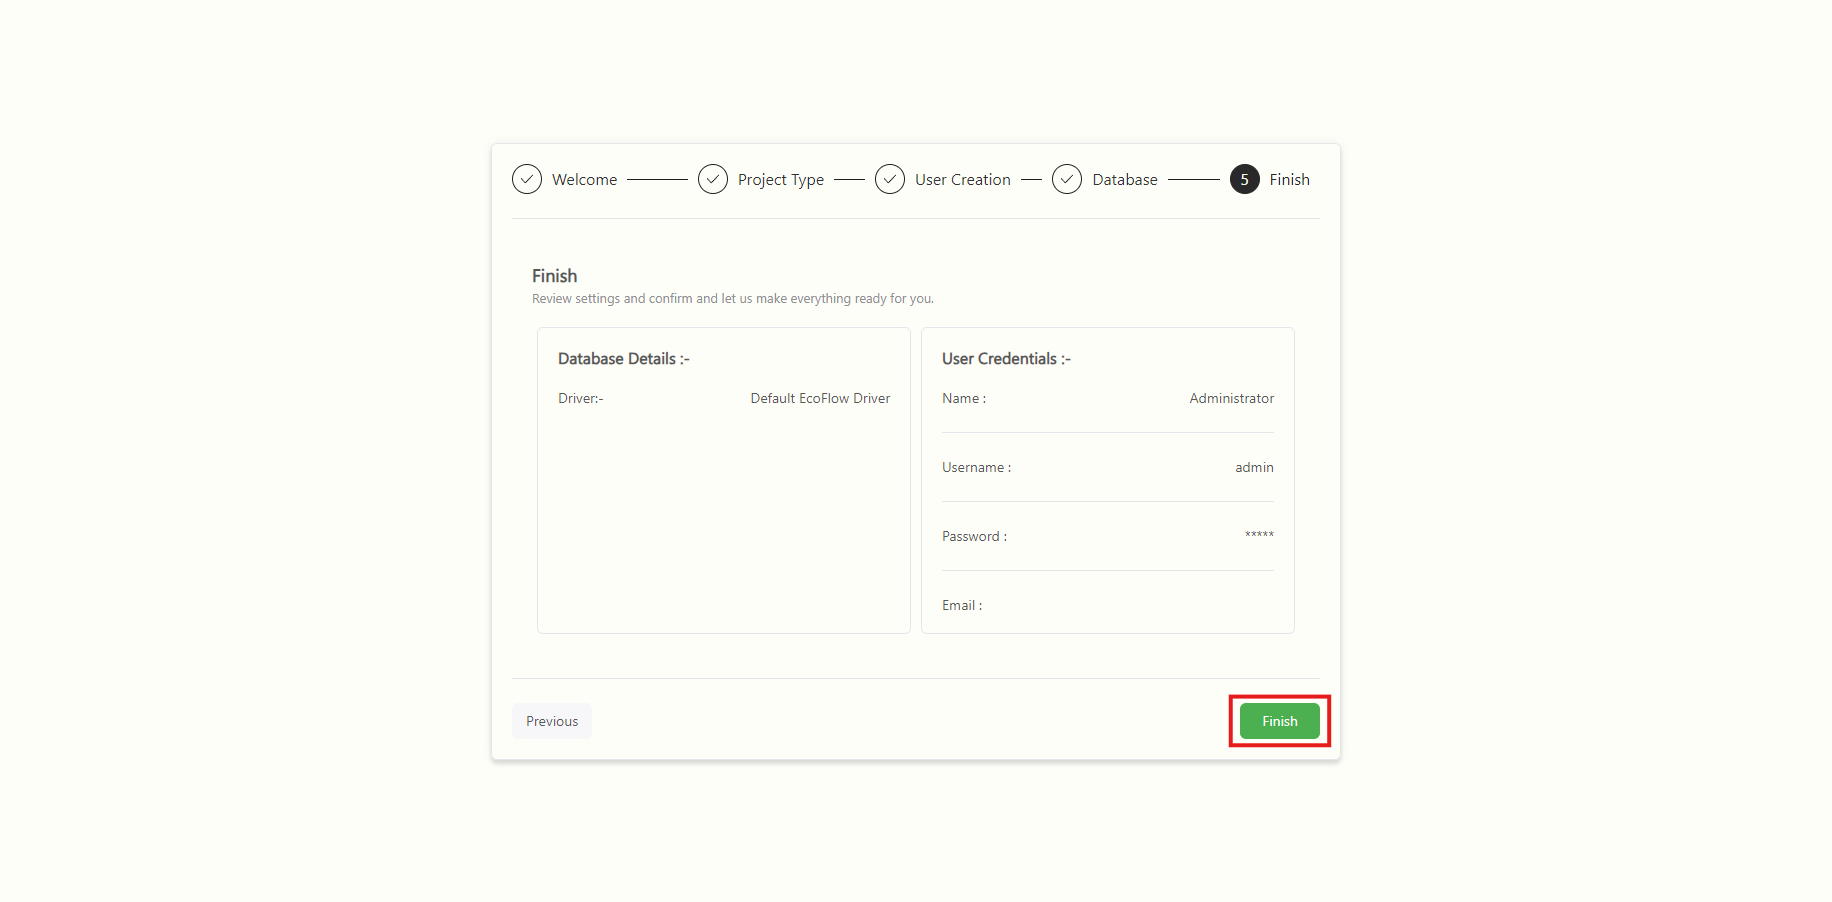
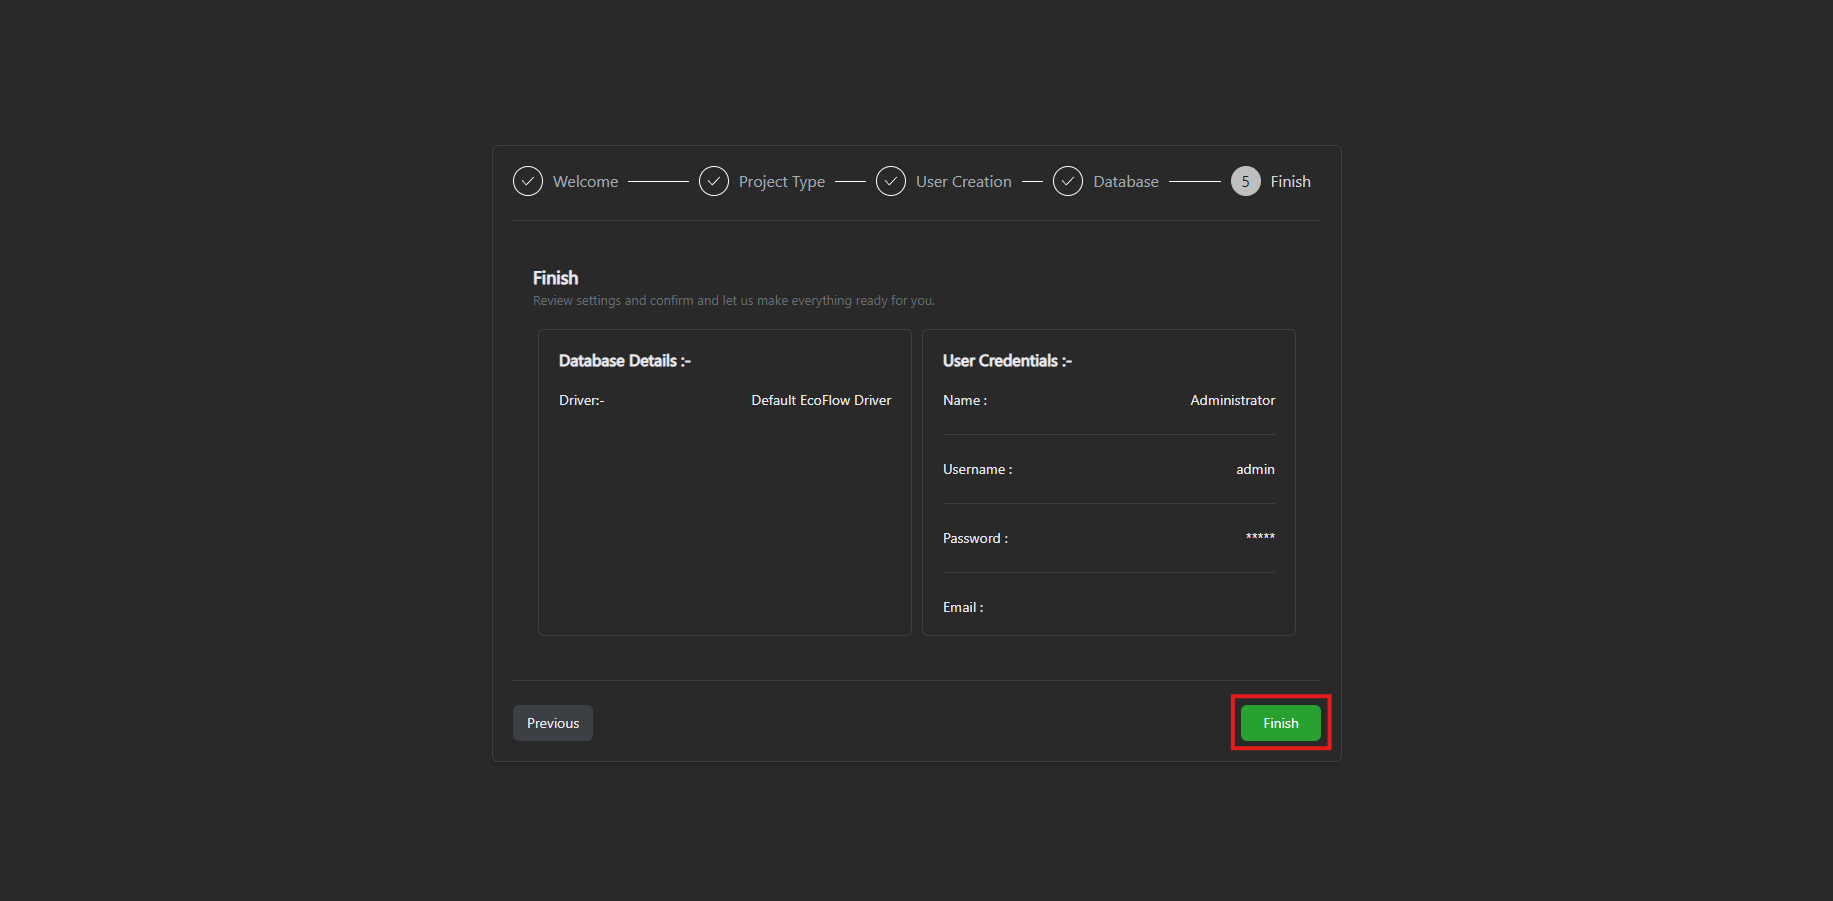
Once clicked the finish button wait for the application to configure with the provided details and for install the default packages.
Once the server is fully configured it will restart and redirect to the sign in page.